Subfloor Success
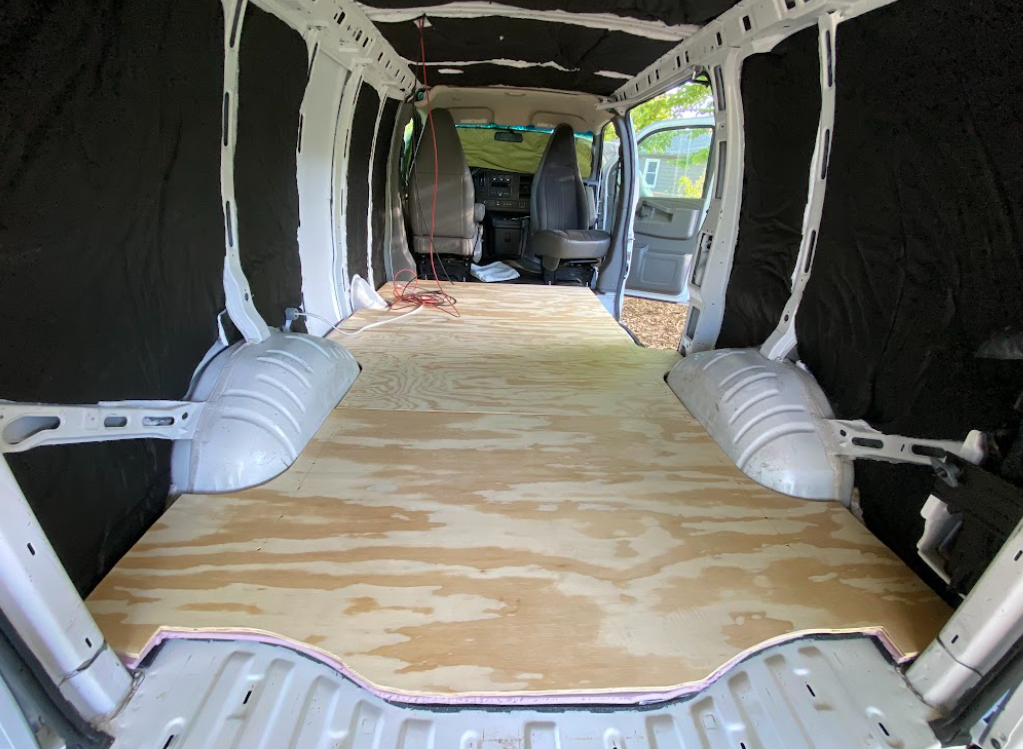
This weekend we got the interior subfloor accomplished!
(We also put insulation into the ceiling to kick the weekend off. Very busy!)
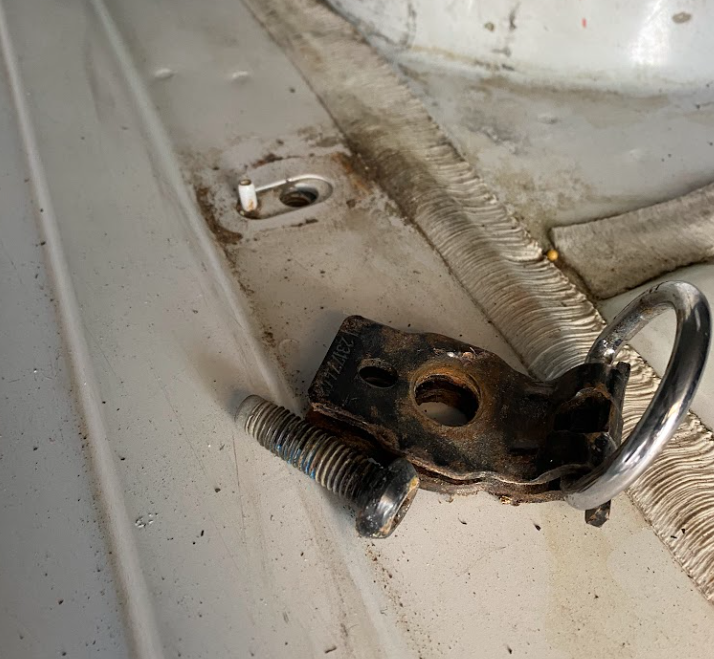
The subfloor assembly is attached to the van using existing holes in the van's floor which were previously holding in cargo tie-down rings. There are six total, in two rows of three down the length of the van. Here's one of those holes, with the removed ring next to it:
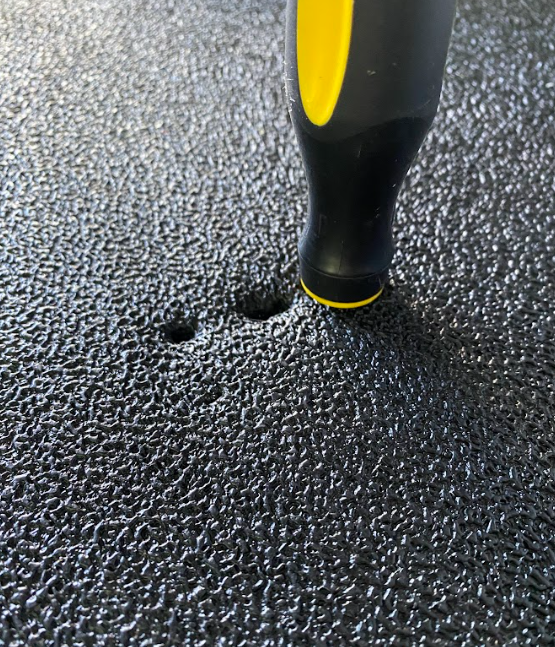
The first layer is the fairly stiff black plastic mat that has been inside the van for a while. The underside of this mat conforms to the ridges of the van's floor, evening things out. We made holes in the black mat using a very scientific method: the classic "stab and check."
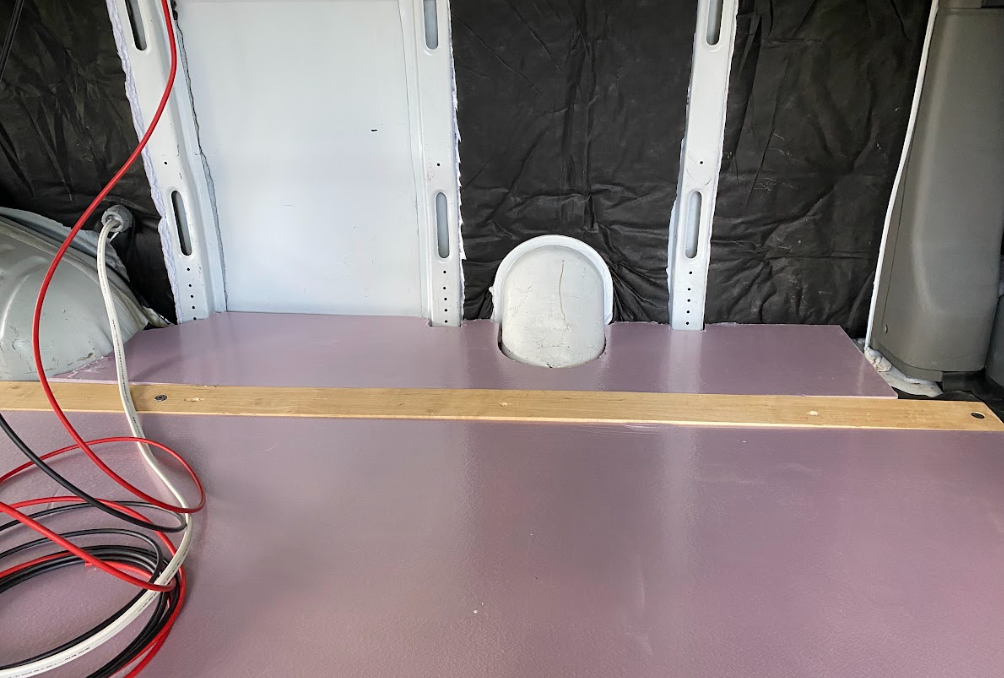
Into these holes we bolted down two of the boards that were previously attached to the walls of the van. Waste not, etc. These will serve as the attachment point for the rest of the floor.

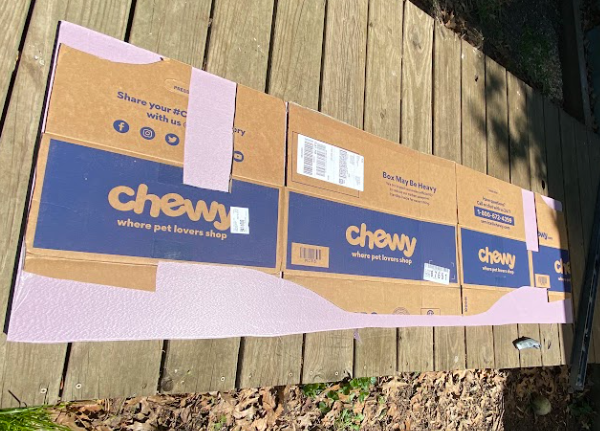
Everywhere the boards aren't, we added half-inch foam board insulation. The bit between the boards was easy (I just cut three inches off of one side of a full sheet), but the other parts needed to be cut to fit around various undulations. For the forward parts I used the other floor mat (the floppy one that came with the van) as a template. The rear part was a bit different because the foam needed to fit around the ends of the floor boards. Luckily, my dogs eat very expensive food so we have a lot of templating material around:

After a lot of fiddling around and cutting a bit off, then checking and repeating till things fit, the template shape was transferred to the insulation:
Hooray! The template worked!

Here's another view of the floor insulation:
The template was also super helpful for cutting the plywood (half-inch exterior grade) that went on top. We started with the rear piece:
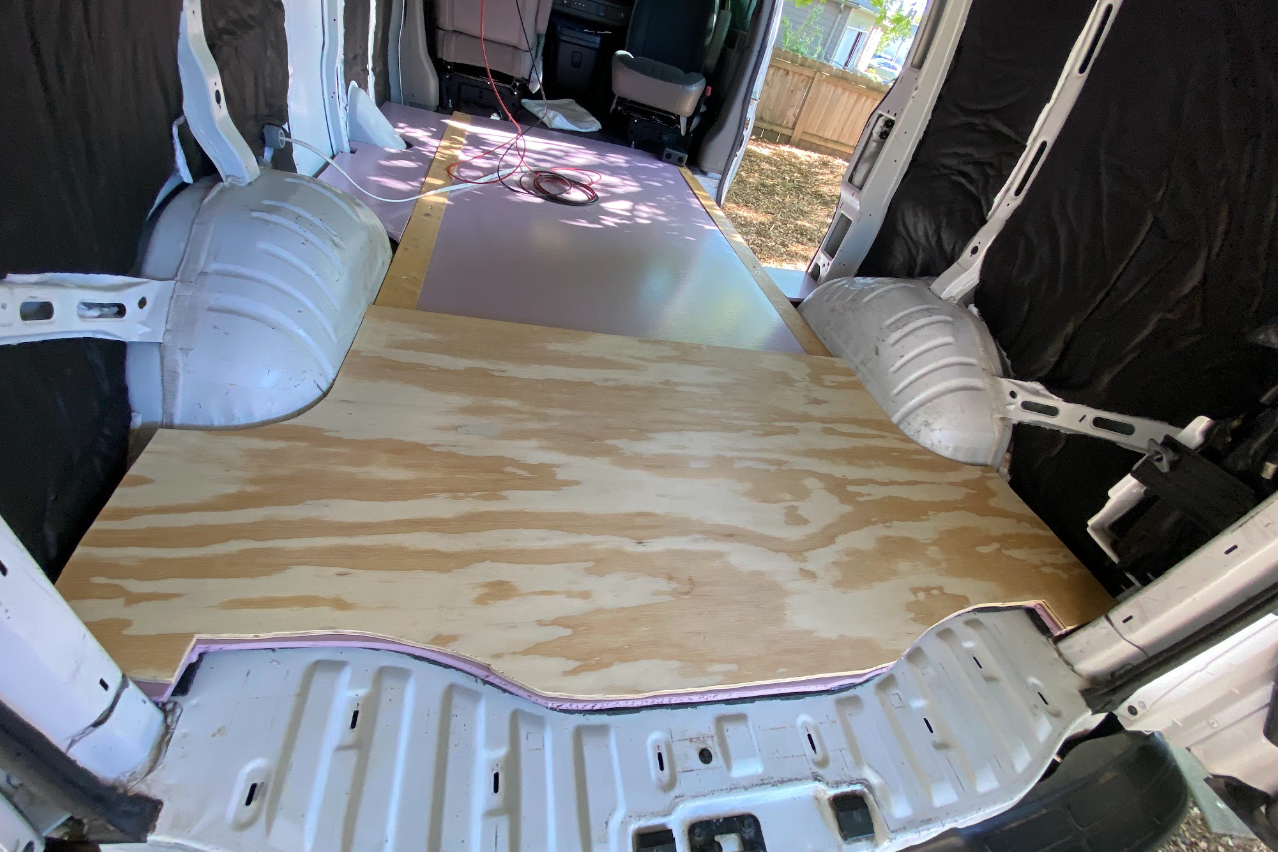
Then we used the floppy floor mat as a template for the rest. We needed three pieces total--the floor is five to six feet wide and a bit more than eight feet long so two pieces wasn't quite enough. I tried to locate the seams in places where the bed frame will stretch across and further hold things together. After all three pieces were cut and fit, we drew two lines where the boards underneath are located, and then screwed those suckers down. We bought two boxes of 35 screws each for this. I used about 1.5 boxes.

Next up: gluing down the vinyl sheet flooring. After that: building structure for installing the electrical equipment.