Side Project: Rear Bike Basket
Sometimes, I make fun things that have nothing to do with the van. I'm thinking I'll add them here as "side projects" in case you find them fun as well. If you don't, then scroll on by. Your regularly scheduled van updates will resume shortly.
Last fall, I rode my ebike to lunch and then had to figure out how to transport my leftovers back afterward. On the way home, as my hummus was swaying around in a plastic bag dangling from my handlebars, I decided that I really need a simple place to easily store small-to-medium things on the bike. I did some poking around for ready-made solutions, but didn't really find anything that quite fit what I was picturing.
So I ordered a wire basket, and spray-painted it with plastidip (kind of a rubbery coating), first in purple and then with a glittery-metallicky topcoat. And then it sat over the winter as I thought about how I wanted to do the bottom of the basket.
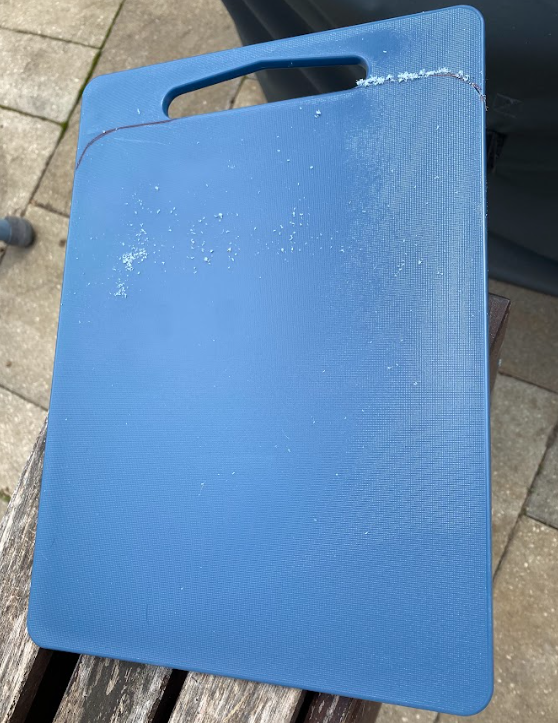
On the same IKEA trip where we bought stools for working inside the van, I also grabbed a pack of two plastic cutting boards, thinking the larger of the two would be about the right size for a platform in the bottom of the basket. And I was right! I just needed to cut off the handle end for a good fit.
I decided to attach this to the bike rack in a removable way, using rubbery clamp fasteners called QuickFists. I put them on the rack bars and tried to generally see how they would align with the basket, then made some measurements based on their locations.

I then transferred those measurements onto the cutting board, drilled holes based on those measurements, and attached the clamps. Here's the test fit within the basket:

The basket itself isn't directly fastened to the bike rack; it's just going to be clamped between the cutting board and the rack. Here's the whole thing installed!

Bonus view from the side:

Bonus bonus view of underneath, in case you want a clearer view of how it's attached:

Securely-attached leftovers ahoy!