Replacing Broken Seat Trim Bits
Spring has sprung. Which is awesome! And it also means that we've had to do a lot of yard-work-type-stuff of late. I did manage a small projectlet in the van this weekend, though!
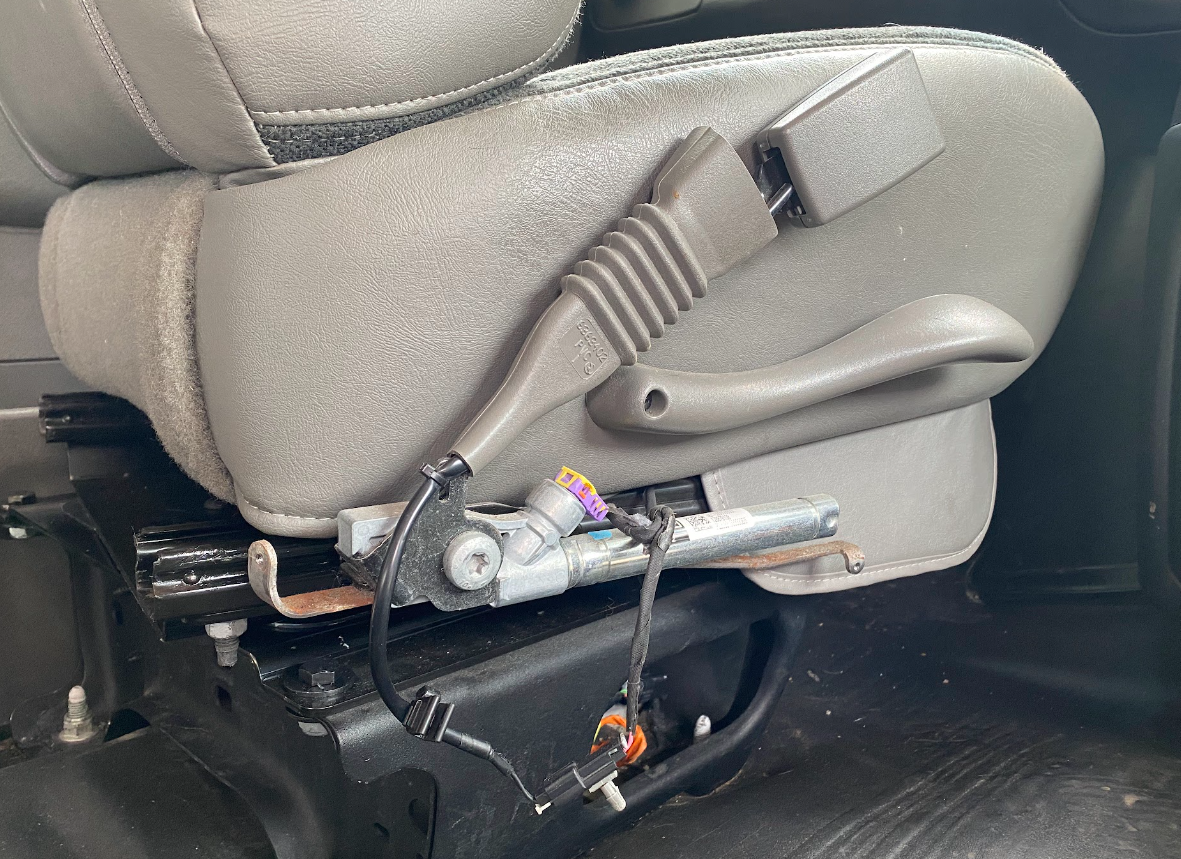
Back when we installed the seat swivels, we learned (by way of breaking both of them) that the covers over the seat belt buckle assemblies on each seat did not clear the base frame as the seat was rotated. Here's what they were covering. I assume that it's probably a good thing to keep this stuff covered, and probably for reasons beyond the aesthetic.
It turned out to be fairly easy and affordable to get replacement pieces for these, so I ordered new ones. But they still needed to be modified to cleanly move through the rotation path.
I started by marking an area to remove from one of the broken covers above where it had been scratched by the seat base:

I figured that'd be a good place to start since that part at least clearly didn't make it through rotation cleanly. And practicing on a damaged one helped figure out if this would work without jeopardizing my brand new trim pieces. After marking the trial piece, I cut the marked bit off with a hand saw, which worked pretty well! Time to test fit:

Ope. Not quite. This is the bolt where the covers get caught the most, and the cover is still hitting the bolt head. Need to cut more off! Back to the marking board... table.

I just sort of freehanded a mark that would take a bit more off, then sawed that part off as well. Time for a re-test fit:

Success! Prototype accomplished, I did my best to draw a similar line on the new piece of seat trim. I think I did alright:

Time for another round with the hand saw and another test fit, just in case:

Hooray! Time to work on the mirror image piece. I did my best again to draw a similar line on the other piece of new trim, but in mirror image mode. Not terrible, I think:

More sawing, more test-fitting:

Sweeeeet! Now they can be for-reals installed! The only problem I had with this is that one of the screw holes was a bit rusty or something, which made it hard to get the screw in. A little WD-40 fixed that right up. They look pretty good, if I do say so myself!

Glad to get that done so those trim pieces can be out of the house and into the van where they belong.
In other fun van news, we picked up a couple of these $5 IKEA stools for working inside the van.

If what we're working on is down low (like these trim pieces) then sitting on the floor is fine. But if we need to work on something near the roof of the van, it gets really awkward trying to both stoop over and look up at the same time. Now we can sit on these stools and be just the right height for upper-van tasks. Very exciting!
Margot said:
The stools are a great idea, but did we miss an opportunity to customize the seat trim pieces with an accent color?
Courtney said:
I might still do that! You never know…