More like SLAYcation
This past week we used up some vacation time to spend a few days working on the van instead of working for the man, man. Well, it's hot out, so we spent a few mornings working until we got hot and gave up for the day. We made some excellent progress!
Backing up a bit: Project-wise, the electrical system has two main sections—all the stuff before and including the distribution panel, and all the stuff after it. The distribution panel is like the breaker box in a house. This has both AC and DC service, so it'll have some house-type circuit breakers but also the sort of fuses you'd find in a car fuse box. From the distribution panel, all the circuits powering all the things can be run, but we have to get the power there first. Which means we need to actually install the distribution panel in the van.
I'm finding that there's a lot of chicken-and-egg situations in building this van... something that really should be in place before moving on to something else, but then also the same something else needs to be started before we can accomplish the first something. A bit like trying to figure out where to start this explanation, I suppose.
So, the distribution box will be in a cabinet that also contains the batteries. But to start building that cabinet, we needed to start building the wall that part of the cabinet will attach to. Even though, in general, it makes sense to finish the first section of electrical before moving on to the walls. So our first step in getting the distribution box installed was figuring out how to create the wall behind the driver's seat.
We had placed small blocks of wood behind the brackets attaching the main electrical cabinet to the van wall. The first step was replacing these with longer strips of wood that spanned the width of the wall.
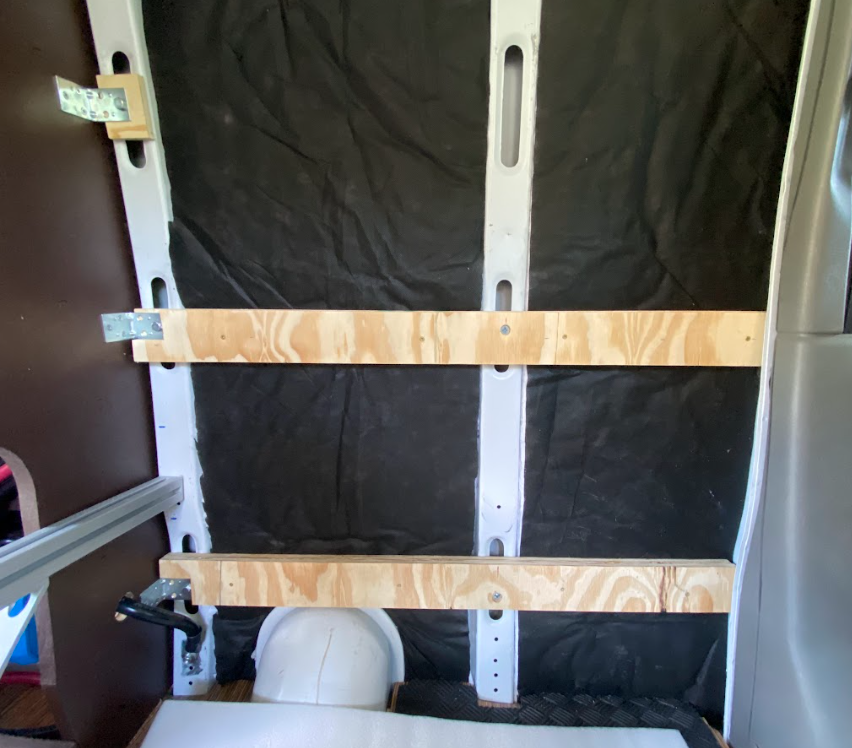
We attached these to the wall ribs with the same hardware that attached the wood planks that the van came with.
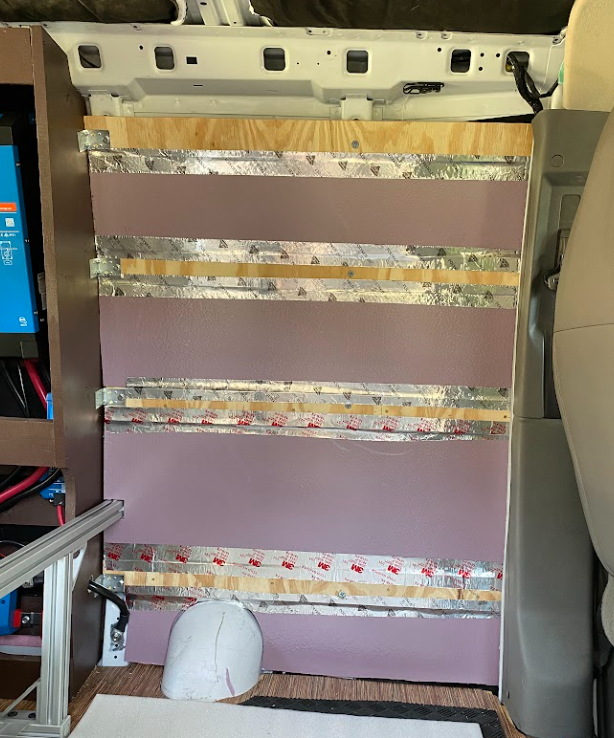
After putting in some wood structure, we filled the space between the wood with foam insulation board, and covered the cracks with foil tape.
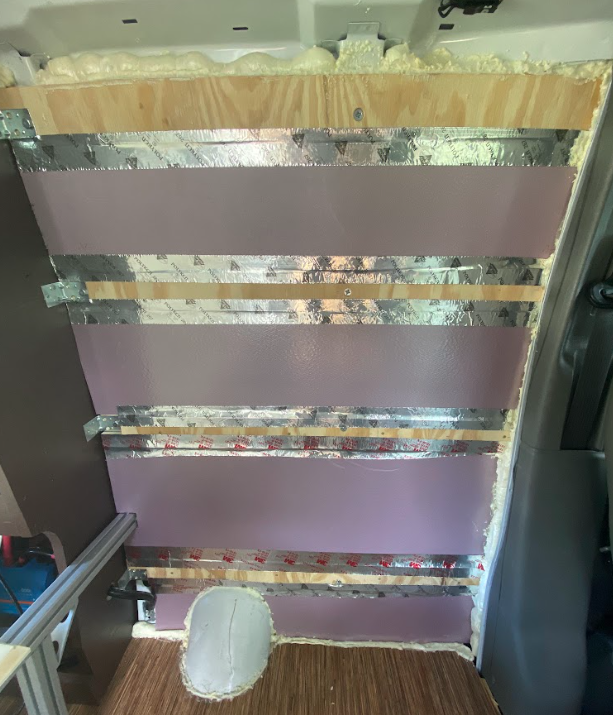
The next step was adding some expanding foam to the edges:
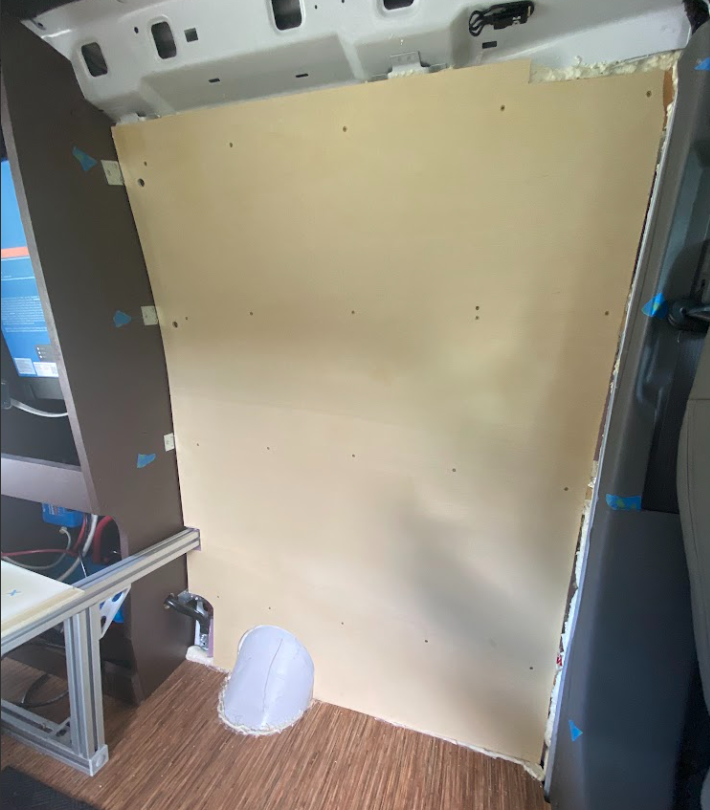
Then we could screw down a sheet of thin plywood to make a wall! That's a lot easier to say than it was to do. There was a lot of cutting out around stuff, grumbling about how it didn't quite work, and smooshing carefully but forcefully so the wood followed the curve of the wall before we got to this point, but we made it!
Chicken accomplished. Now on to the egg! This cabinet employs... <Norm Abram voice> Pocket Screw Technology! Ooooooo...
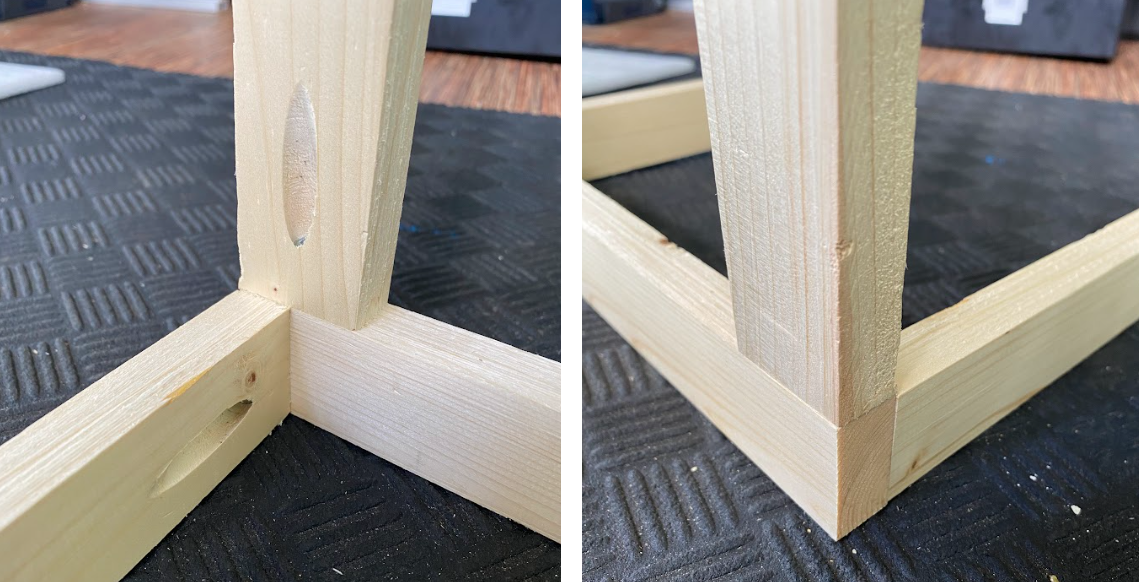
Here's the frame of the whole thing. Noice! The clamped-in piece of wood at the top is temporary; this will eventually be replaced by a nice footboard for the mattress.
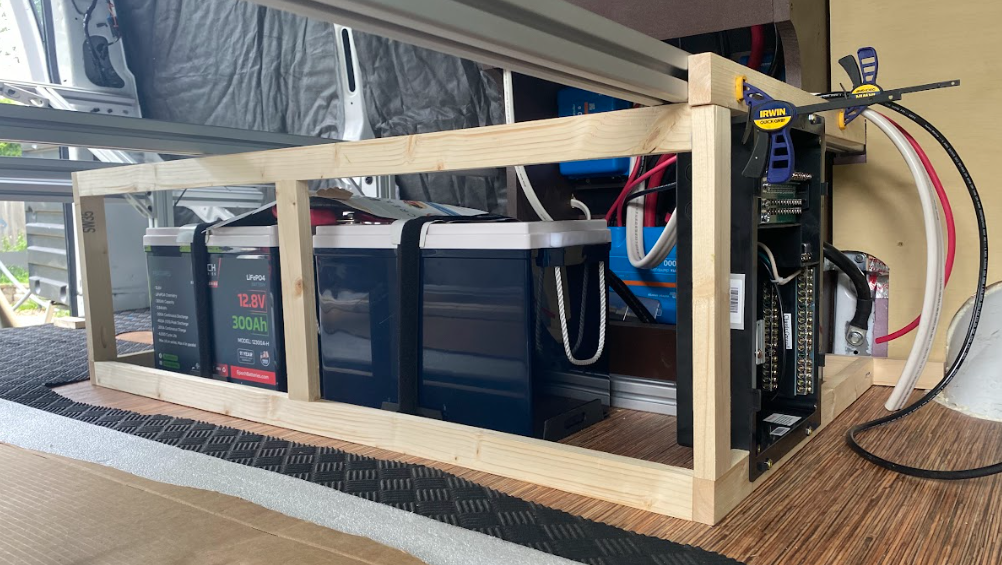
Which means the distribution panel is in place! One complete set of poultry achieved!
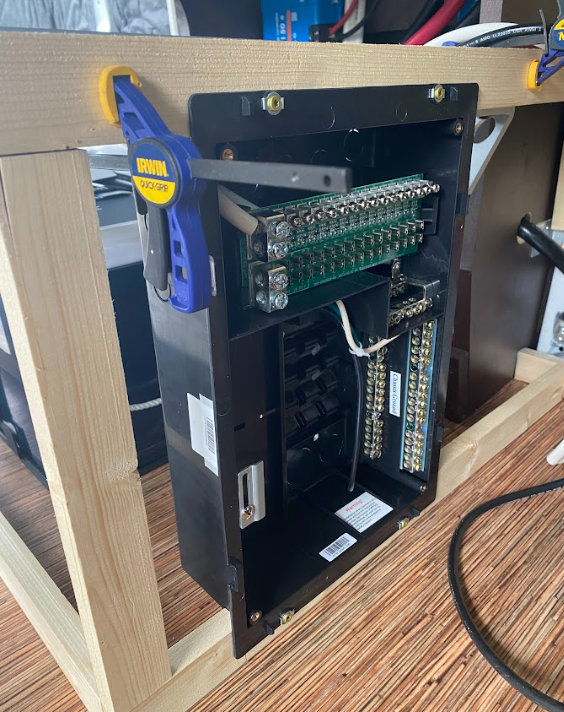
We still need to wire the power supply into the box, but we're nearly there on this part of the electrical. The cabinet also needs a skin of wood on the outside; we'll get to that soon.
We also bought some tongue-and-groove planks for the ceiling! And I spent some time in the hot afternoons and evenings staining them in our basement. More on that later, but here's a sneak peek:
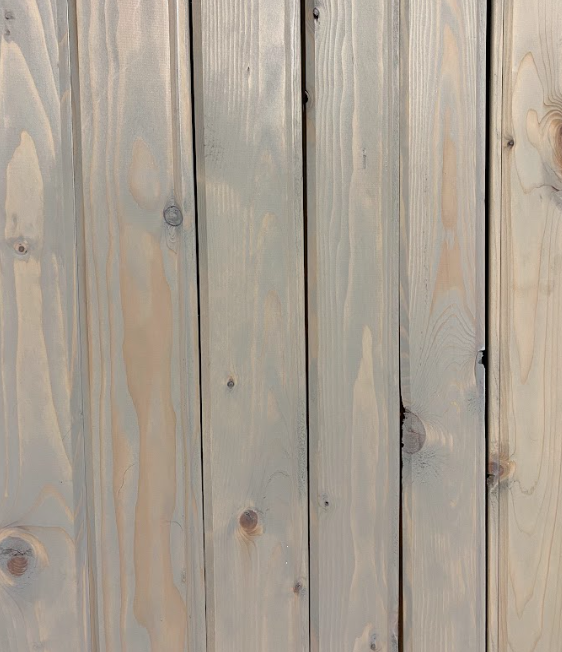
I did promise more photogenic stuff. Hopefully this post will fulfill that promise.