Insulation Portion the First
After a bit of a break from van things during which we worked on Planet Comicon things, we're back on it! This weekend: prepping for and beginning insulation.
I started out by removing the wood rails along the sides of the cargo area. Don't need those when you've got (plans for) actual walls! I also wiped the walls down with alcohol (not the drinking kind) to remove stuff on the wall that might interfere with sticking things to it. Got a lot of grime off!
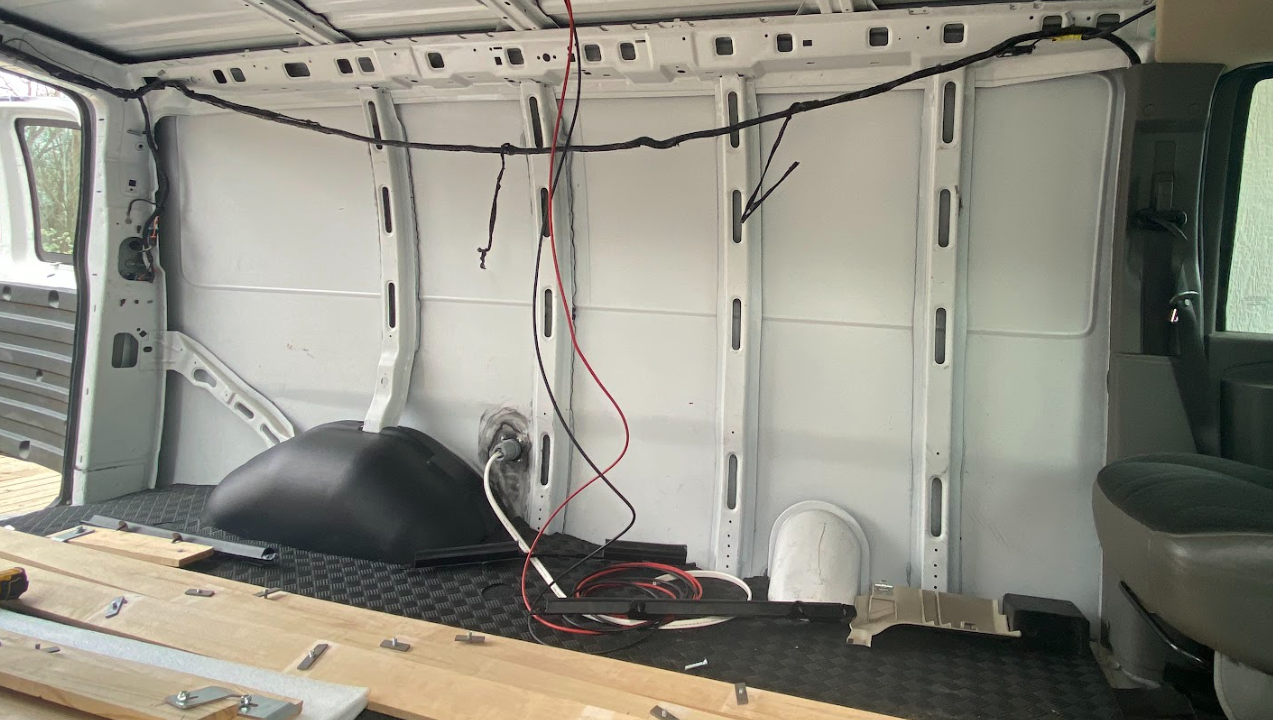
I also decided that I wanted to try to take the wiring that was clipped to the top of the wall and re-route it inside the channel behind where it was clipped. So I started loosening that, which you can see above.
Getting the wire unfastened from the wall was the easy part. Then I had to figure out how to get it disconnected so I could pull it through the channel. We unfastened a lot of these guys:

These are all for rear lights and other important things that we mostly want to keep functional. (There is one light above the rear doors that we will probably remove. It turns on when the doors open which is awesome for a normal car and probably a terrible idea if you're camping in a van and need to sneak out for a nighttime wee.)
After getting everything unhooked and unplugged, we then pulled the wire in through the body channel behind where the wire had been previously mounted. You can see the result here, with the wire entering the channel right behind the driver's seat and coming back out again just in front of the rear doors:

Hopefully this will both simplify the interior finishing and protect the wiring a little bit.
On to the insulation! It's 3M Thinsulate, an automotive insulation/sound deadening product. It's not unlike a house insulation batt, but it's moisture resistant, thinner and a lot less itchy. This is the first layer of insulation in our van, between the wall ribs. It's applied with a spray adhesive, though it will also be sandwiched into the wall as we build that out. Today, we got the sides done!


The one uncovered section you see will be where we'll mount a lot of the electrical equipment. We'll need a bit more depth there, so the insulation in that bit will be different.
Still to do: the ceiling, and then maybe the inside of the sliding door and the rear doors. I am really looking forward to seeing how this affects the road noise when driving her around, because right now it's pretty dang loud.