A fan, a van, a plan: N'alpanav anafa!
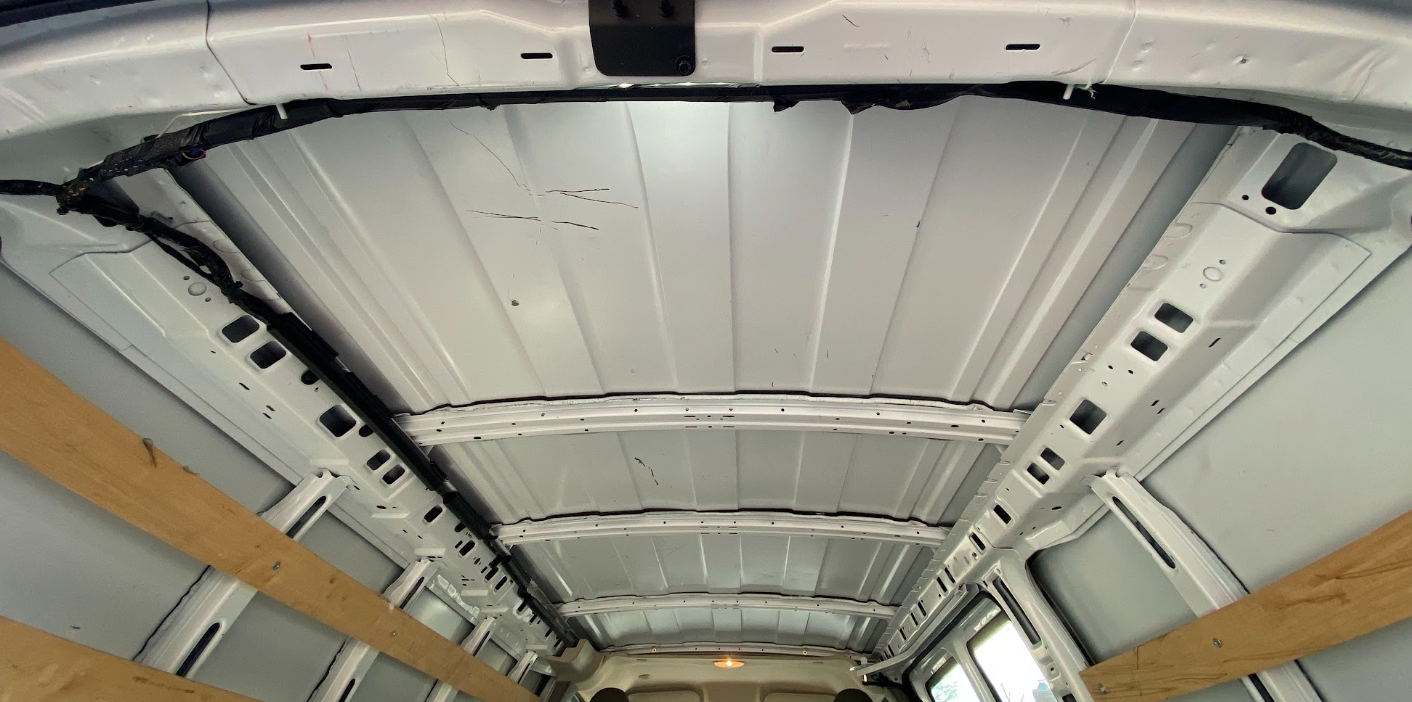
This weekend we got the vent fan (mostly) installed! This is the result:

Pretend the blurring is just, like, artful hinting instead of questionable photography. And buckle up! This is a long one.
First step was locating where the big ol' hole needed to go. It's a 14 x 14 inch hole in the roof of a perfectly good van, so this is kind of scary.
We want the fan to be more or less centered in the last bay of ceiling, between the back of the van (at the top of the photo) and next-rearmost roof support:
After carefully measuring how far from the back of the van we want the hole, it's time to mark the roof for cutting:
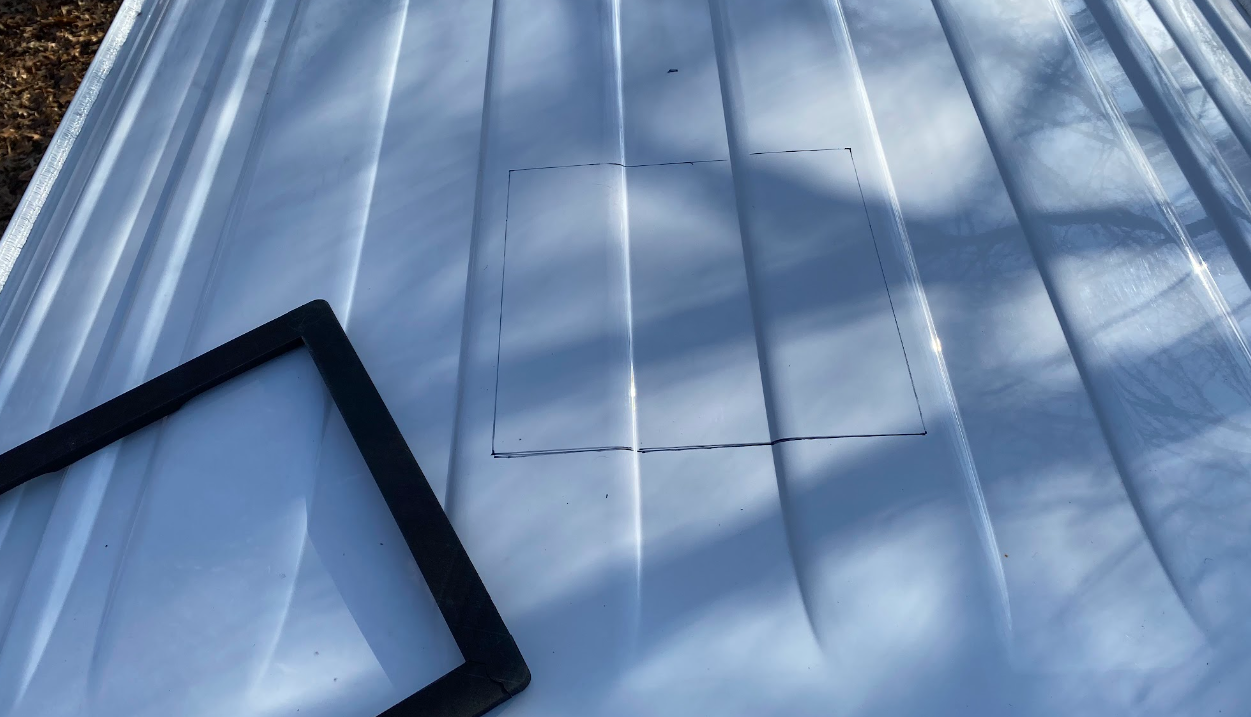
The black frame you see in the photo above is a bit of material that conforms to the ridges in the roof, so the fan will mount to an even surface. It also works as a template for marking! And now... cuttin' time. No worries.
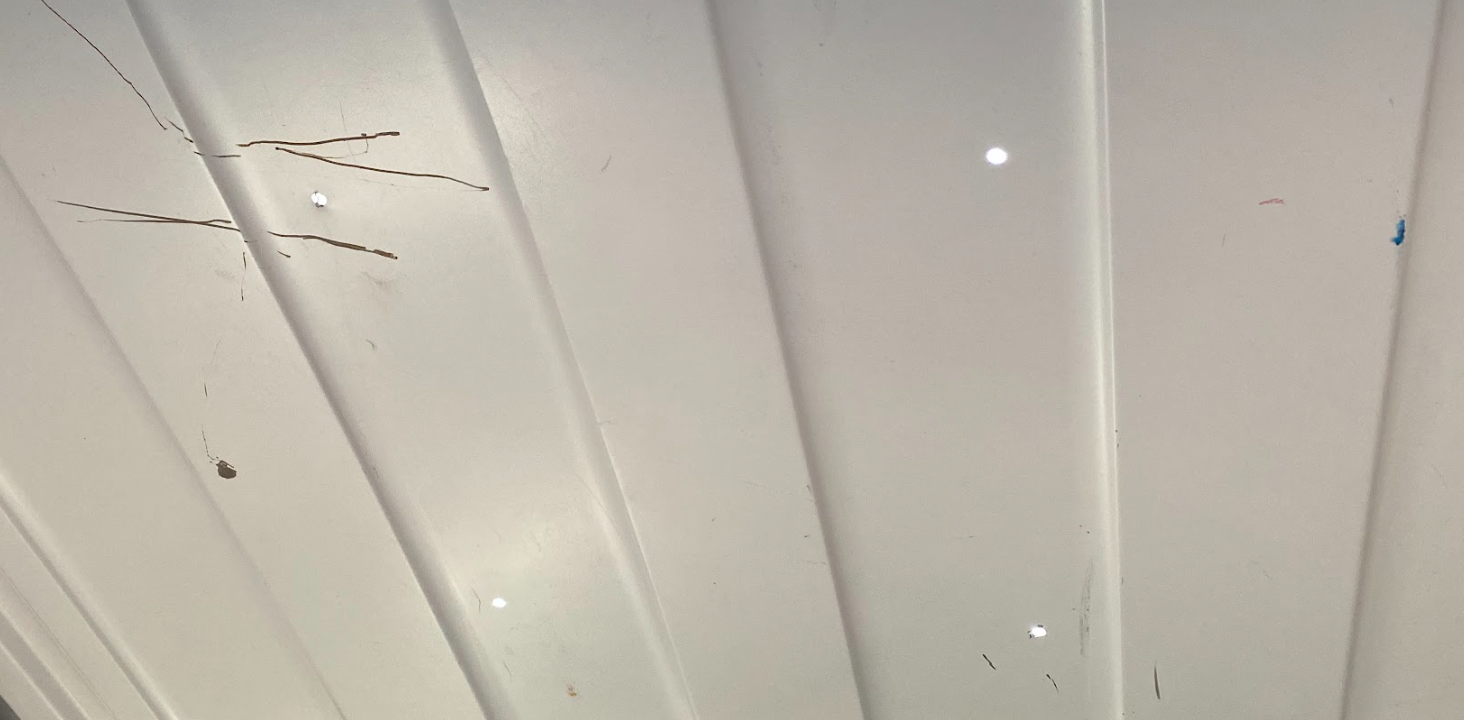
First up: drilling holes in the corners so we can get a saw blade into the roof.
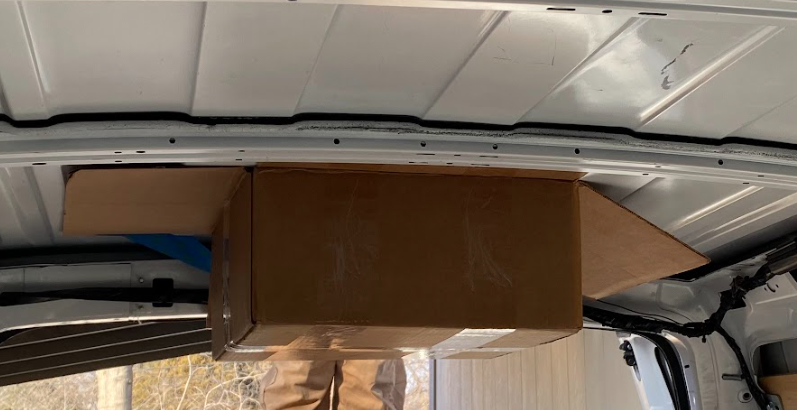
Hooray! Positioning looks good. Let the slicing begin! ... wait not yet. When you cut metal, it makes lots of tiny metal bits. Like sawdust. It's called swarf. Swarf is a fun word. It's a less-fun substance. To try to catch most of it, we taped a box in place below where the hole cutting was going to happen.
Now let the slicing begin! We used a jigsaw to follow the lines drawn on the roof. The swarf box fell down a couple times, but mostly contained the swarf. Mostly. I don't have photos of the slicing because the slicing was happening so photos were not. But: success!
Also pictured: the mounting frame bit that the fan attaches to. That's going on top of the black frame piece, which itself goes on top of the hole. (Honorable photobomb mention inside the van: our friend the swarf box.)
I think we can credit the success of this operation to the lucky Silva Brothers shirt. It provides a +2 bonus to construction checks.
It doesn't help with keeping swarf out of places you don't necessarily want it, sadly. I ended up kind of covered in it from standing under the swarf box and steadying it. Engage in swarfare and you'll get covered in shrapnel, I suppose.
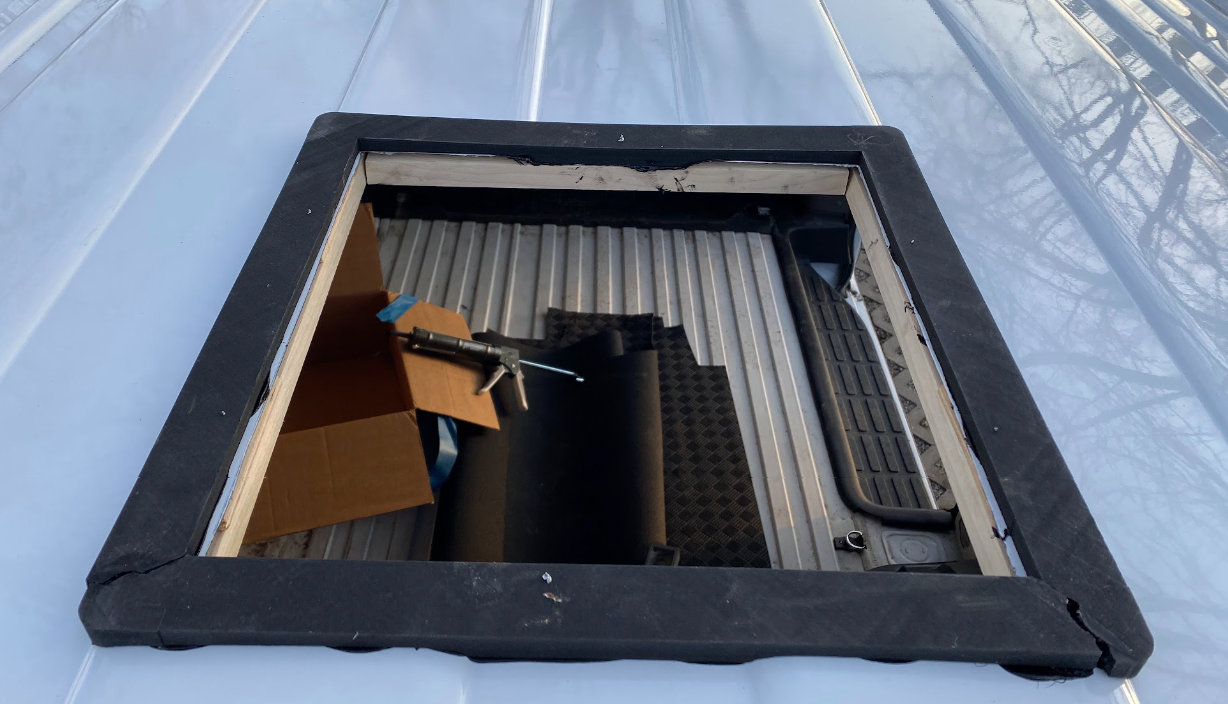
Now to add some structure around the hole. We've got the black frame bit for the top, which we attached with some adhesive of the caulk-tube type:
And we've also got some wood to make a frame on the inside, which is attached with some screws through the roof and into the black frame bit.
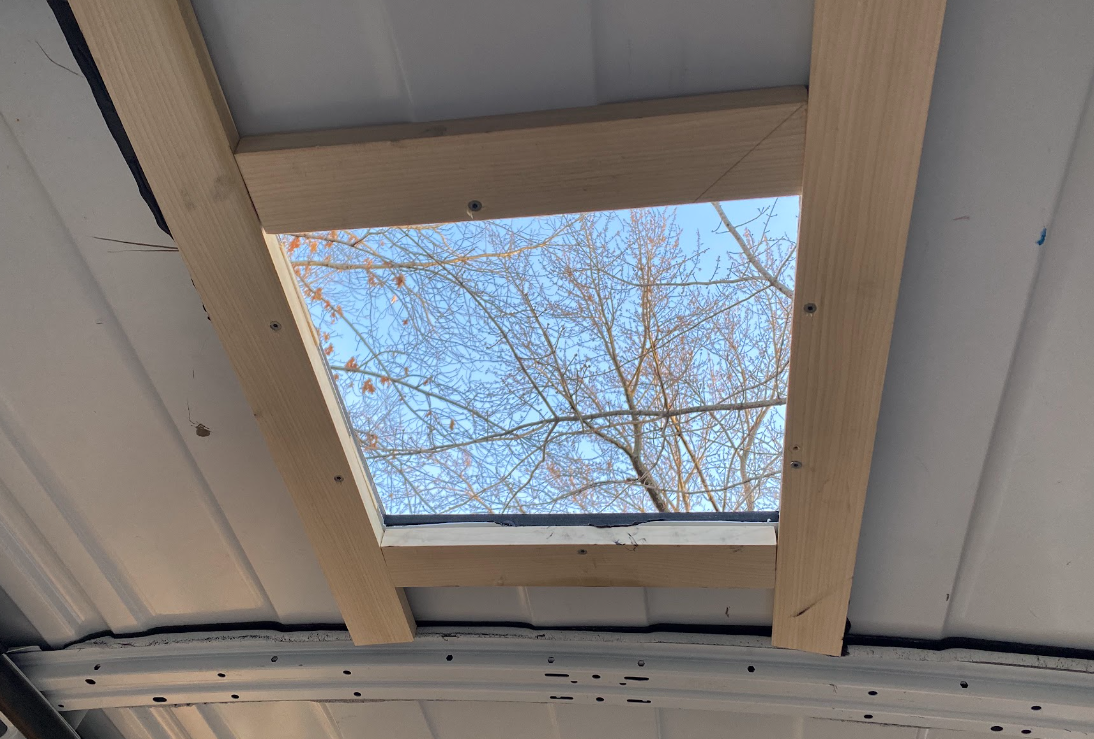
Into that, we can now screw the fan's mounting frame. And then cover that whole hole mess with another mess made of some self-leveling lap sealant.
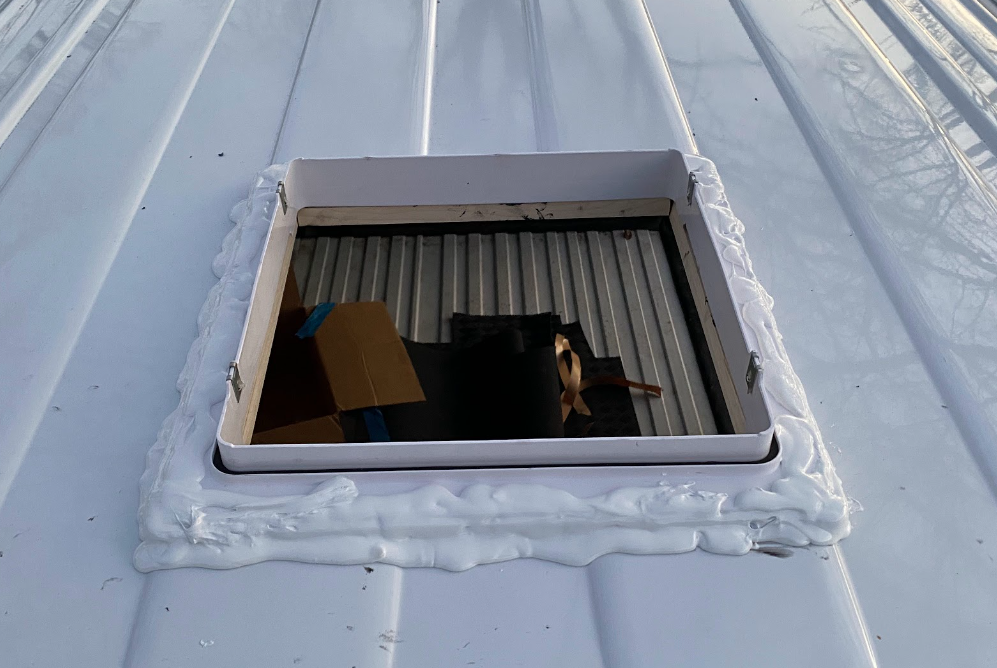
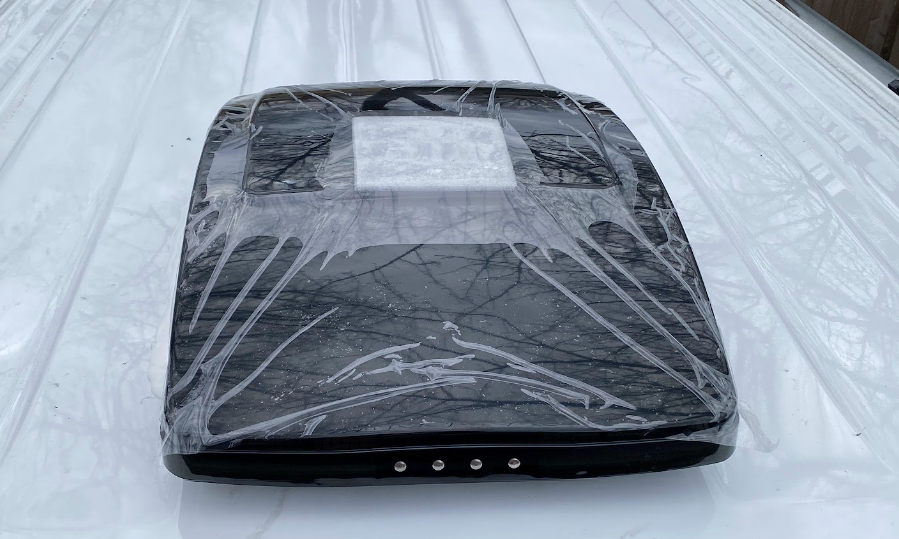
The sealant evens out over time and finds its way into the cracks and crevices to create a watertight seal. It will smooth itself out as it cures. We let it do its thing overnight, and then plopped the fan into the hole to cover it back up. Here's what it looks like from the top:
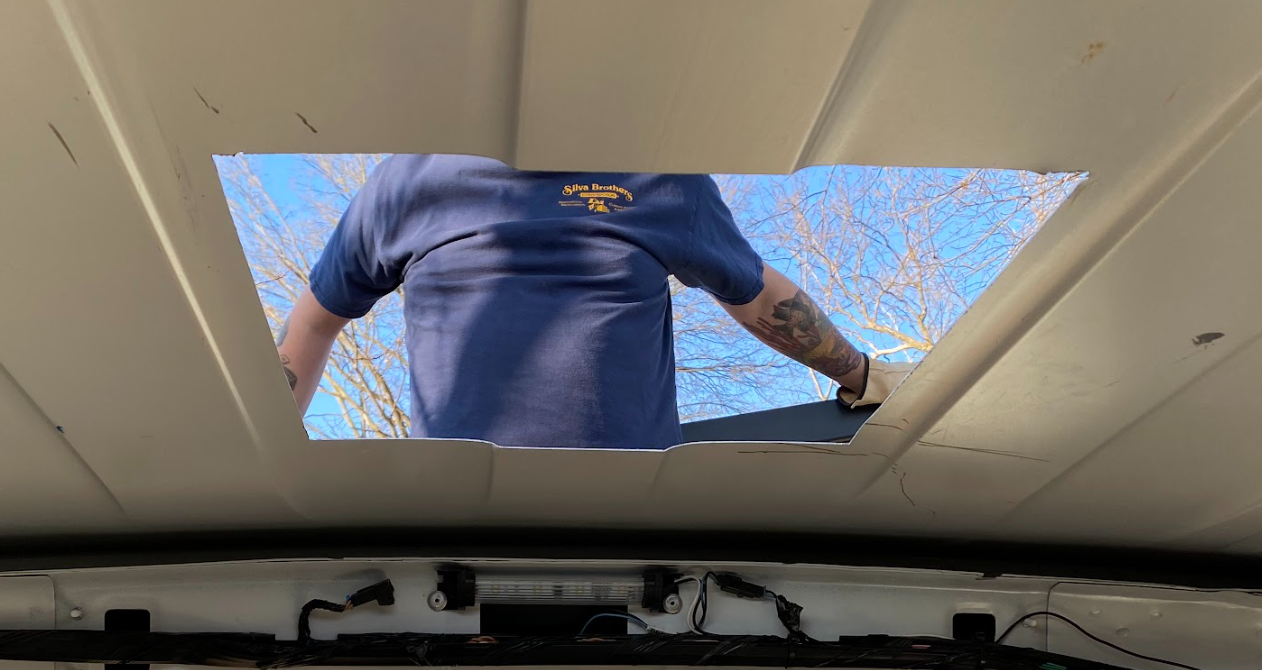
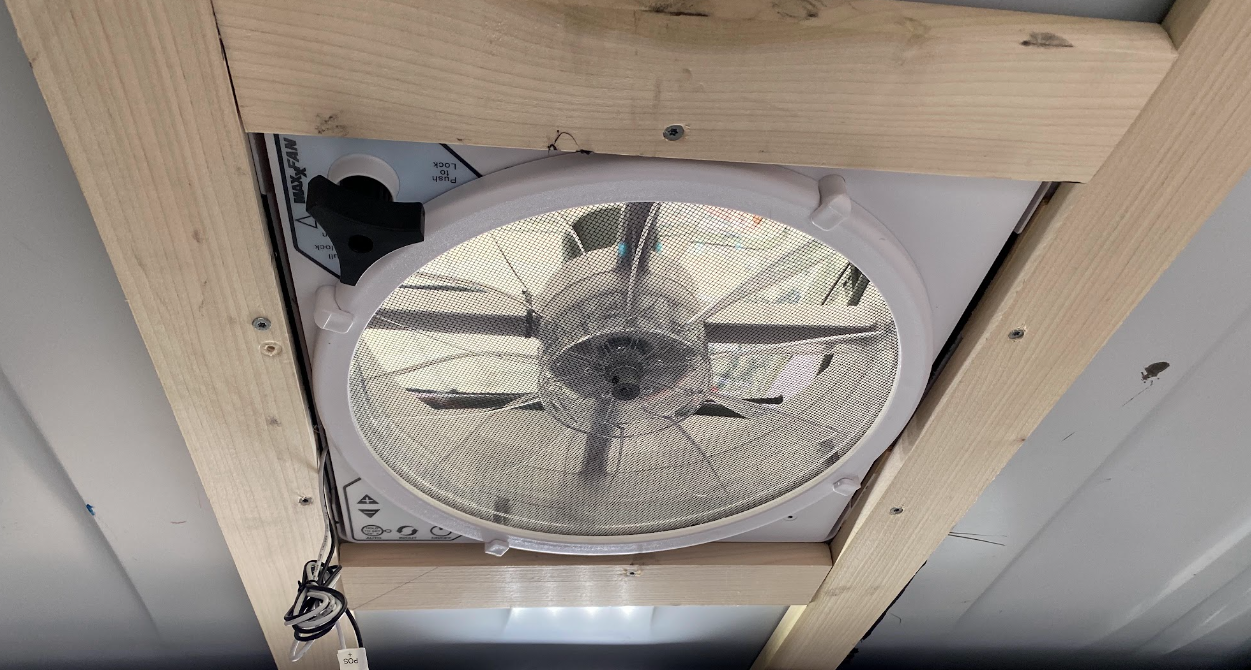
Here's what it looks like from inside:
Very exciting! We cut a hole in the perfectly good van and it turned out okay! And doing the hole parts at the beginning will mean we can clean out the swarf before we start putting too much stuff we want to keep on the inside.
We still need to install the inner trim ring on the fan to finish off the inside, but that will come much later. We need a ceiling first.
"But wait," you might be saying to me, indirectly through your computer screen. "If you put the fan in the van, that means you have it back and it's all wrapped now, right?"
"Maybe," I might be replying to you.
"Then why haven't you shown it off?" you might be asking. "You said it was going to be pretty!"
"It is pretty!" I might be confirming. "But, it's been both slightly rainy outside and somewhat drywall-dusty in our house's vicinity recently, which means that it's gotten pretty dirty pretty quickly. I need to wait for a nice enough day to wash it and take it for glamour shots before showing it off."
"But we can't see it just a little bit?" you might be wondering.
"Well, okay." I might be acquiescing. "Just a tiny, little bit. Here you go."
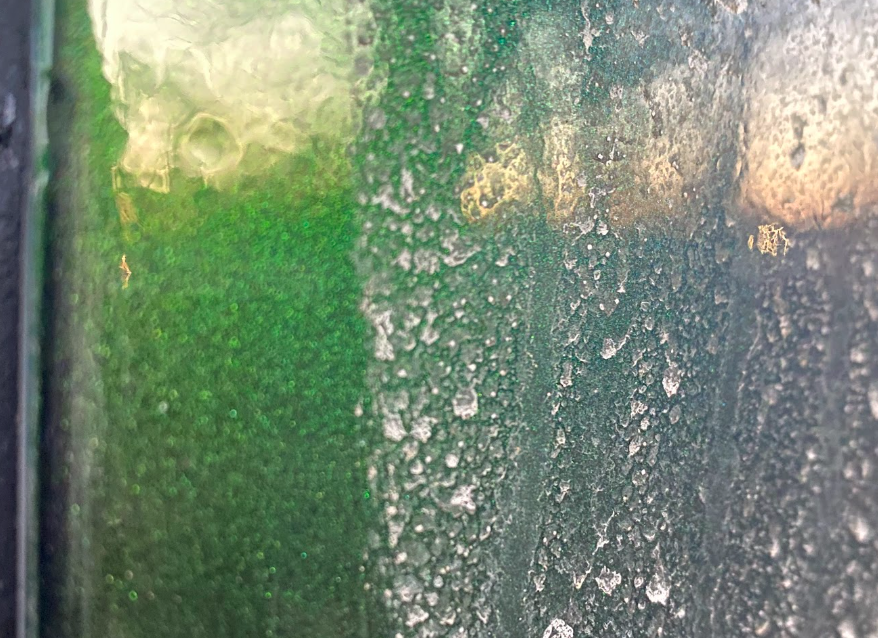
You can see how dirty Agent May is in this photo. I'm looking forward to getting her spiffed up and taking some portraits. The weather looks pretty cold and miserably wintery for the next little bit, though. Hopefully that will clear up soon!