Electrical 2: Routing One Wire, Plus Bonus Bed Building
This past weekend was a little rainy, and some electrical bits that I was hoping would arrive by the weekend ended up delayed, so Agent May underwent just a couple of small projects. The first was running a wire from the engine compartment, where it will be connected to the van's main battery, back to our electrical cabinet.
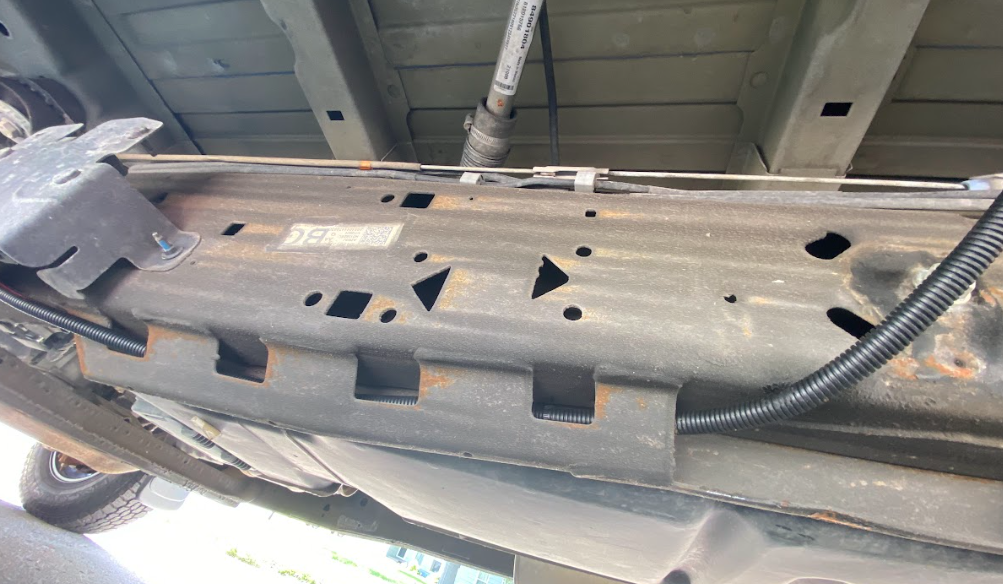
This involved adventures in wiggling around under the van to secure the wire along the chassis:
And then up through a hole in the floor of the van.
Here's the underside of the hole:
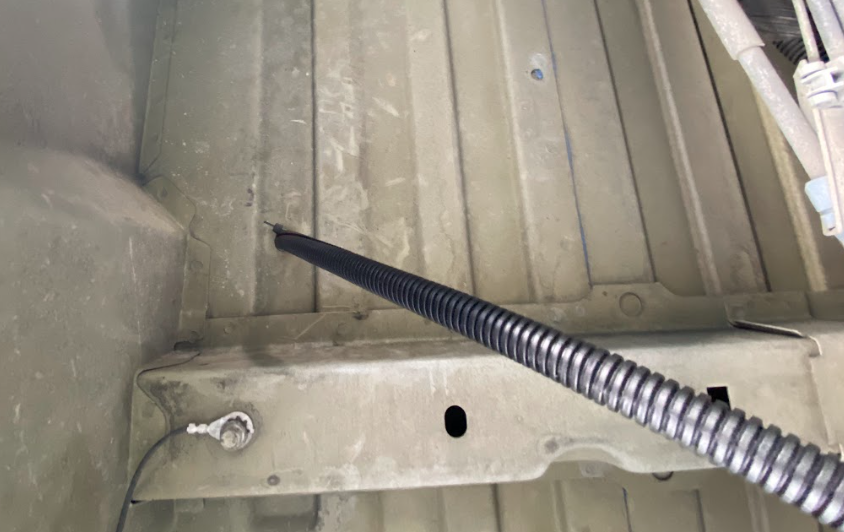
And here's the top side of that same hole:
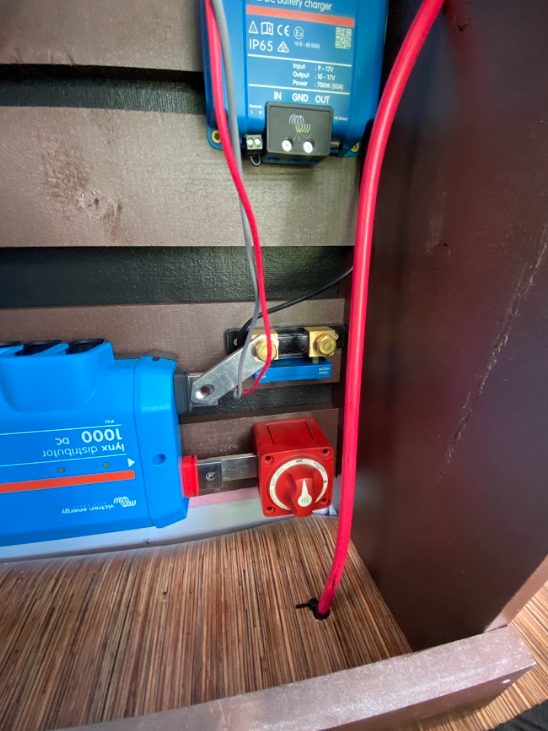
This wire will connect to the blue box at the top of that photo. That piece of equipment manages the current coming from the vehicle battery and uses it to charge the batteries inside the van while the engine is running.
We also did some preliminary work on assembling the bed frame inside the van. It's made of extruded aluminum bars, which are both light and strong, while also being moisture resistant. They have a slot system that works with fasteners designed for the bars, and it all fits together very nicely. Sort of like my childhood Erector set (which I was very fond of).
Here it is from the side door of the van:

And here's the view from the rear doors:
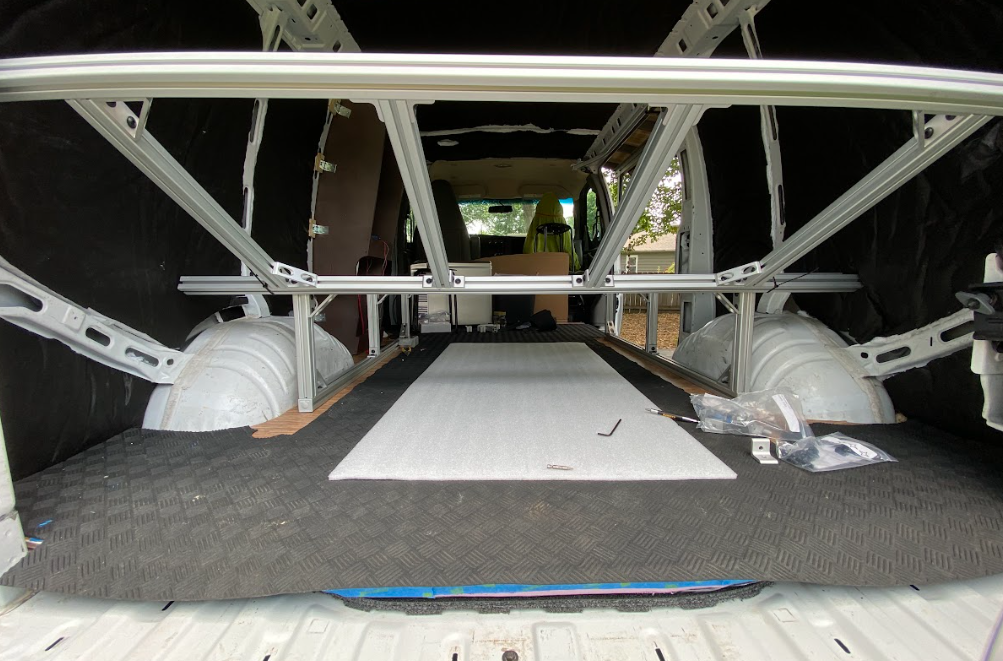
If possible, I need to sleep with my head elevated, and building this van ourselves means we can build that into the design! As a bonus, this will allow for a bit of extra space in the rear storage area under the bed.
At this point, the flat portion of the bed frame is screwed into the floor of the van, but the head portion is not yet attached. We still need to work out the best way to support it. It'll probably just involve some creative use of fasteners and angle brackets.
You might also notice that the floppy floor mat is slowly disappearing. It's sticking around to protect the vinyl floor during construction but it will be slowly cut away as we build things into the van. Thank you for your service, floppy mat!