By far the most expensive, involved, and lengthy part of this project is the electrical system. It will be able to take in power from the solar panels, from being plugged in to a campground hookup, and from the alternator while the engine is running. That power will then be stored in two large batteries before being used for a variety of devices on both AC and DC circuits. This involves a lot of design and planning, and also a lot of pricey equipment. I'm learning a lot, though!
So... work on the electrical system began with the construction of a cabinet-box-thing to hold most of the equipment on the side of the van. The first step was creating a cardboard template of the curve on the inside of the van, then transferring that onto some 1x12 boards and cutting them out. Then: the first of many test fits!
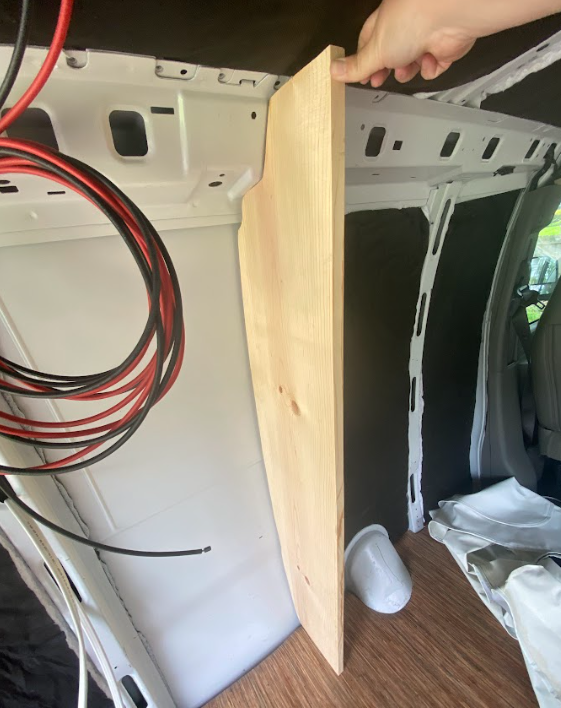
Looks good so far.
read full post
The Cavalry's vinyl floor has been installed! Very exciting times. Here's where it started:
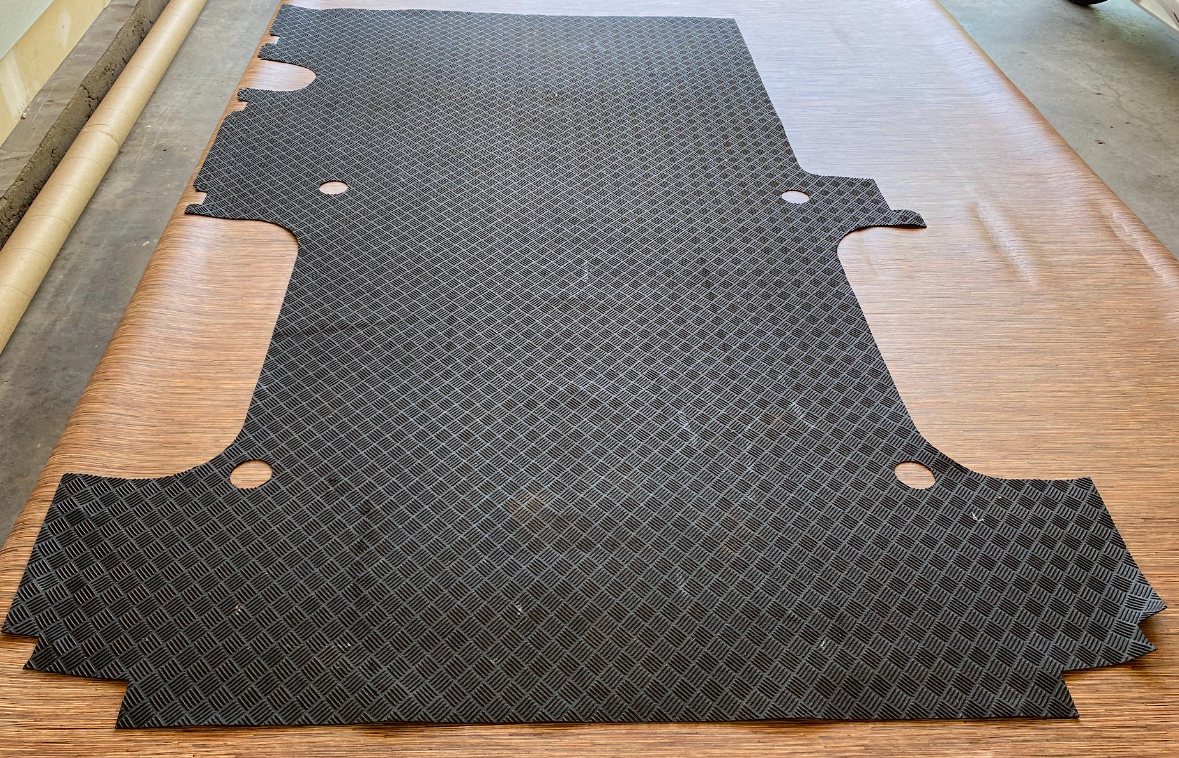
Well, really it started with me sweeping out the garage so this wouldn't be unmanageably full of little maple helicopter seed things. Then I rolled out the vinyl remnant that we bought a little while ago and put the floppy floor mat that the van came with on top to use as a template. I marked a little larger than the floppy floor mat, for a rough cut of the flooring.
Fun fact: we chose this one because it was the closest to the size we needed, not because of the design (well, except I didn't want something super light which would show dirt very easily), but it's pretty nice!
read full post
This weekend we got the interior subfloor accomplished!
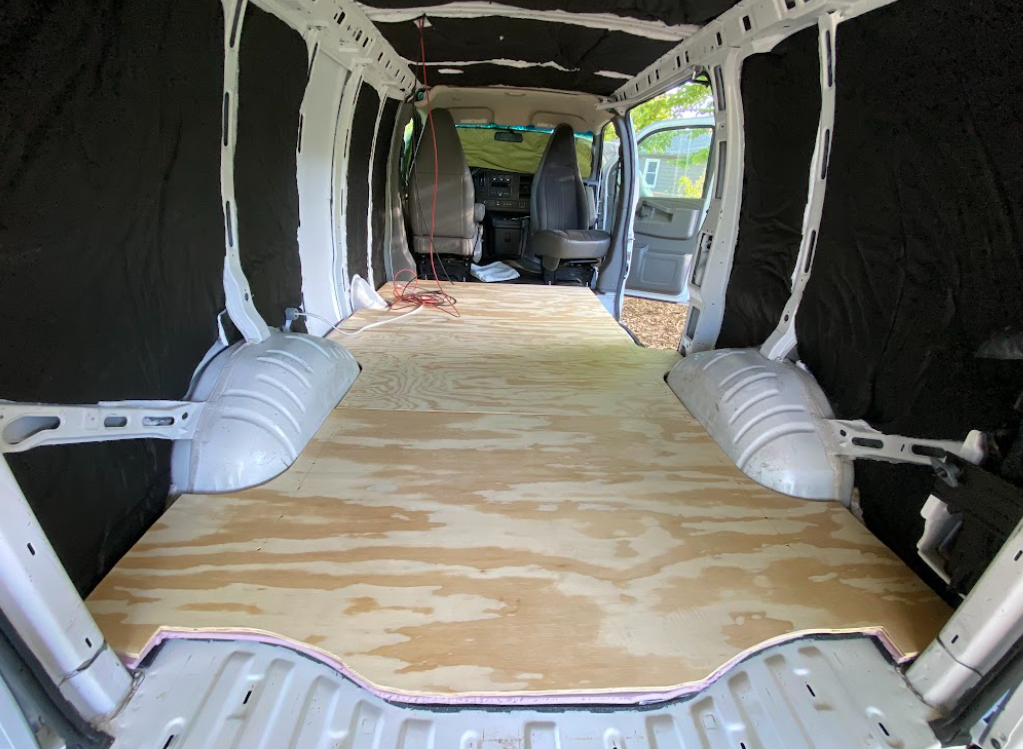
(We also put insulation into the ceiling to kick the weekend off. Very busy!)
read full post
Spring has sprung. Which is awesome! And it also means that we've had to do a lot of yard-work-type-stuff of late. I did manage a small projectlet in the van this weekend, though!
Back when we installed the seat swivels, we learned (by way of breaking both of them) that the covers over the seat belt buckle assemblies on each seat did not clear the base frame as the seat was rotated. Here's what they were covering. I assume that it's probably a good thing to keep this stuff covered, and probably for reasons beyond the aesthetic.
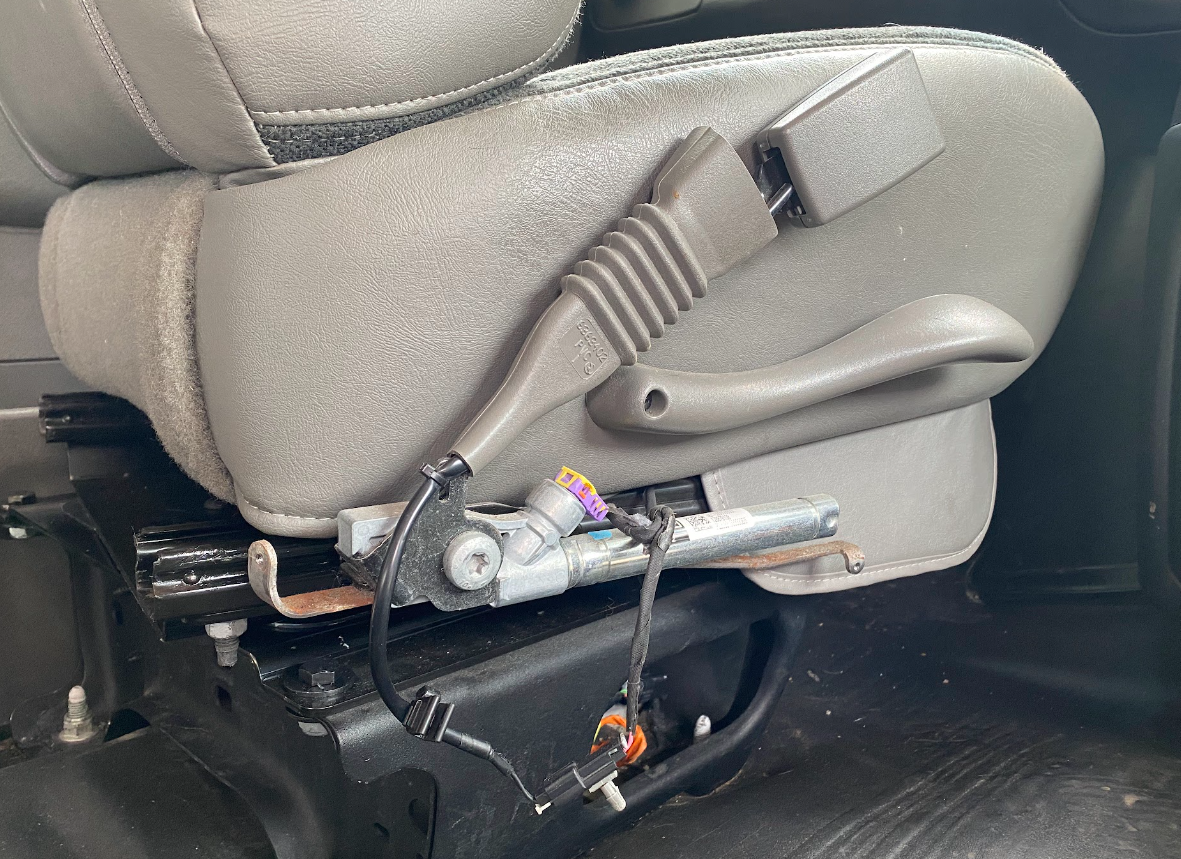
It turned out to be fairly easy and affordable to get replacement pieces for these, so I ordered new ones. But they still needed to be modified to cleanly move through the rotation path.
read full post
After a bit of a break from van things during which we worked on Planet Comicon things, we're back on it! This weekend: prepping for and beginning insulation.
I started out by removing the wood rails along the sides of the cargo area. Don't need those when you've got (plans for) actual walls! I also wiped the walls down with alcohol (not the drinking kind) to remove stuff on the wall that might interfere with sticking things to it. Got a lot of grime off!
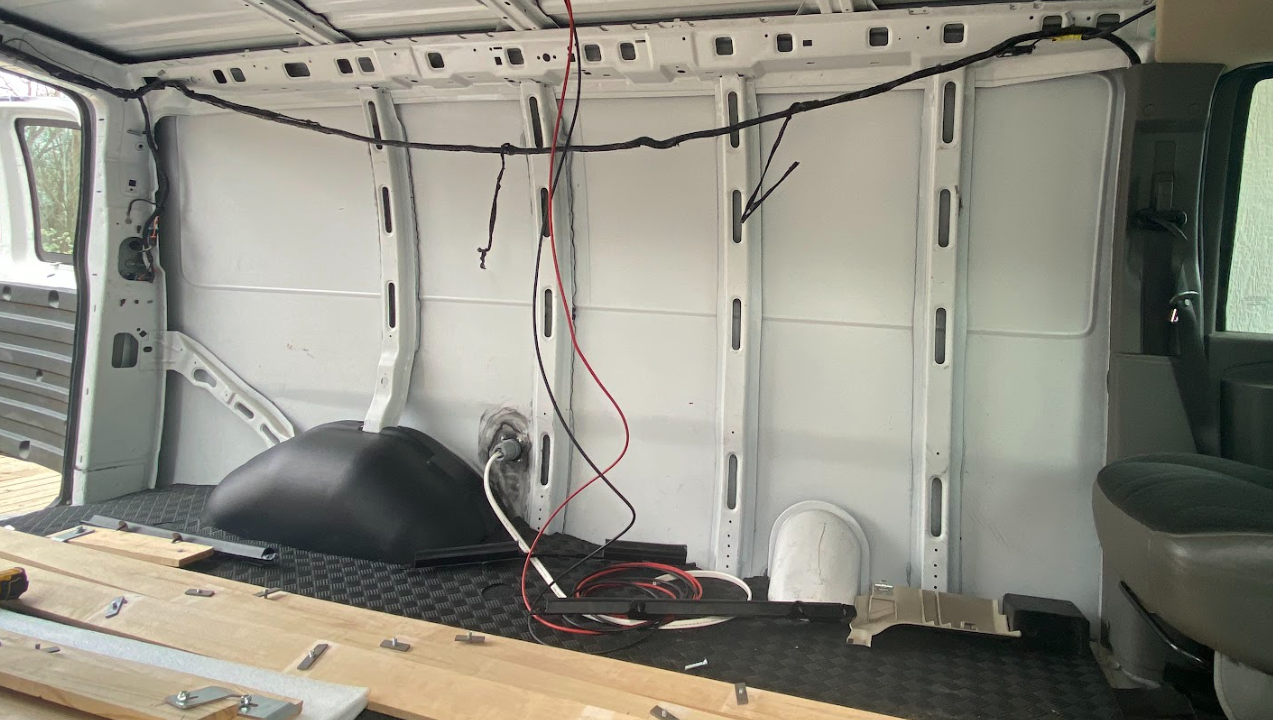
I also decided that I wanted to try to take the wiring that was clipped to the top of the wall and re-route it inside the channel behind where it was clipped. So I started loosening that, which you can see above.
read full post