This weekend picked up where we left off with even more ceiling excitement!
Last weekend saw the ceiling's tongue and groove boards getting a coat of stain. Here's a shot of some boards before staining (left) next to some after their trip to the Board Salon (right).
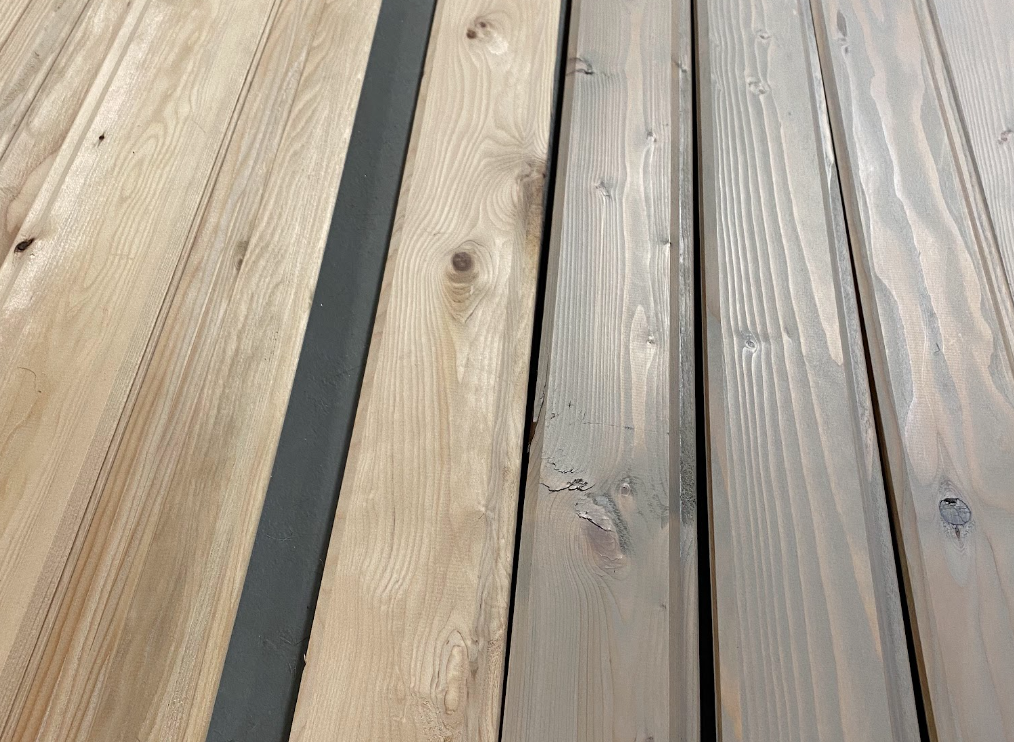
We chose this color because we wanted something that was interesting to look at but wouldn't make the ceiling feel dark, heavy or oppressive. The boards have a lot of character in the form of knots, interesting grain situations and modest splitting (translation: they're cheap) so we're just leaning into that with a rustic look. Cabin vibes.
I followed the stain up with applying two coats of urethane, since I had the day off Friday for the holiday. It really did take basically all day--each coat was about 2.5 hours of patient brushing. Why do the staining and finish coat before installation? I've painted enough ceilings to know that I don't want to do that if I can avoid it. Much easier to do it with gravity pointing in the most helpful direction.
read full post
This past week we used up some vacation time to spend a few days working on the van instead of working for the man, man. Well, it's hot out, so we spent a few mornings working until we got hot and gave up for the day. We made some excellent progress!
Backing up a bit: Project-wise, the electrical system has two main sections—all the stuff before and including the distribution panel, and all the stuff after it. The distribution panel is like the breaker box in a house. This has both AC and DC service, so it'll have some house-type circuit breakers but also the sort of fuses you'd find in a car fuse box. From the distribution panel, all the circuits powering all the things can be run, but we have to get the power there first. Which means we need to actually install the distribution panel in the van.
I'm finding that there's a lot of chicken-and-egg situations in building this van... something that really should be in place before moving on to something else, but then also the same something else needs to be started before we can accomplish the first something. A bit like trying to figure out where to start this explanation, I suppose.
So, the distribution box will be in a cabinet that also contains the batteries. But to start building that cabinet, we needed to start building the wall that part of the cabinet will attach to. Even though, in general, it makes sense to finish the first section of electrical before moving on to the walls. So our first step in getting the distribution box installed was figuring out how to create the wall behind the driver's seat.
We had placed small blocks of wood behind the brackets attaching the main electrical cabinet to the van wall. The first step was replacing these with longer strips of wood that spanned the width of the wall.
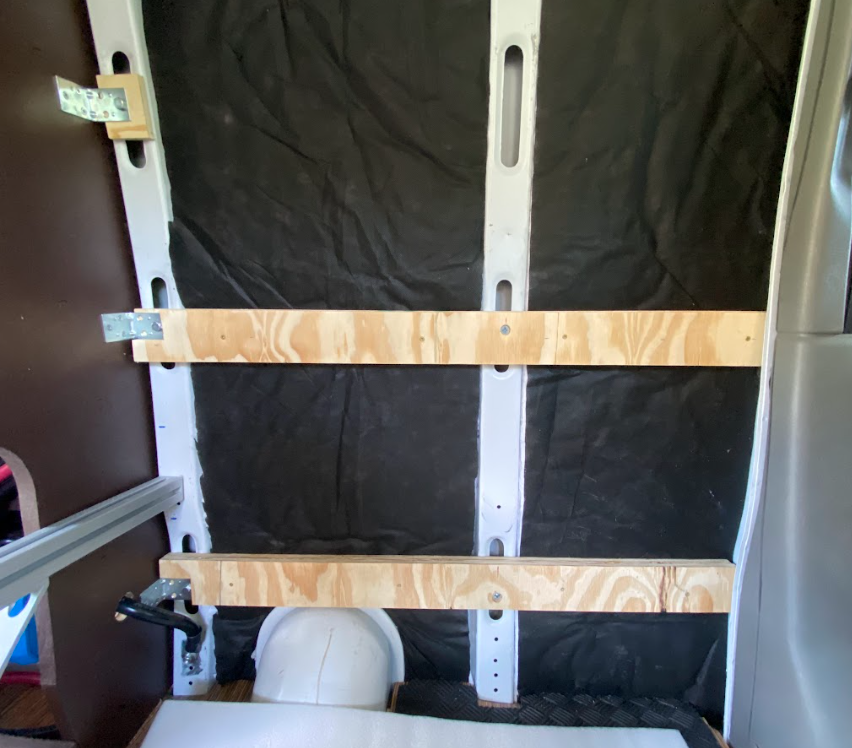
We attached these to the wall ribs with the same hardware that attached the wood planks that the van came with.
read full post
By far the most expensive, involved, and lengthy part of this project is the electrical system. It will be able to take in power from the solar panels, from being plugged in to a campground hookup, and from the alternator while the engine is running. That power will then be stored in two large batteries before being used for a variety of devices on both AC and DC circuits. This involves a lot of design and planning, and also a lot of pricey equipment. I'm learning a lot, though!
So... work on the electrical system began with the construction of a cabinet-box-thing to hold most of the equipment on the side of the van. The first step was creating a cardboard template of the curve on the inside of the van, then transferring that onto some 1x12 boards and cutting them out. Then: the first of many test fits!
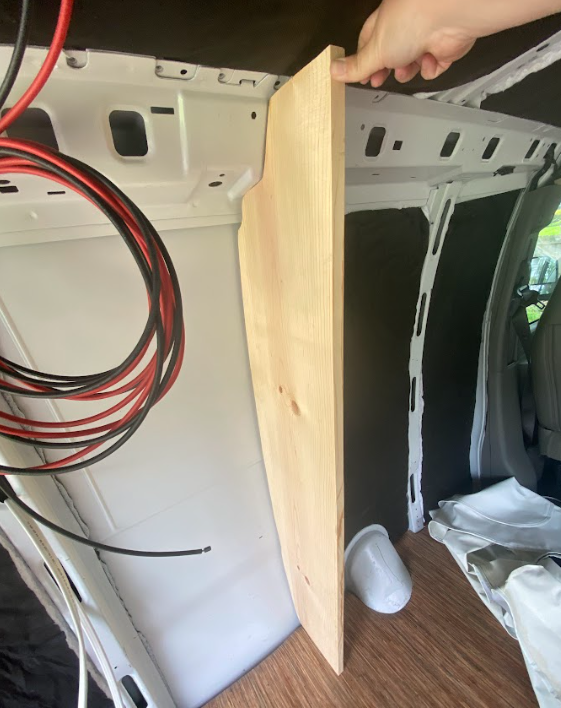
Looks good so far.
read full post
This weekend we got the interior subfloor accomplished!
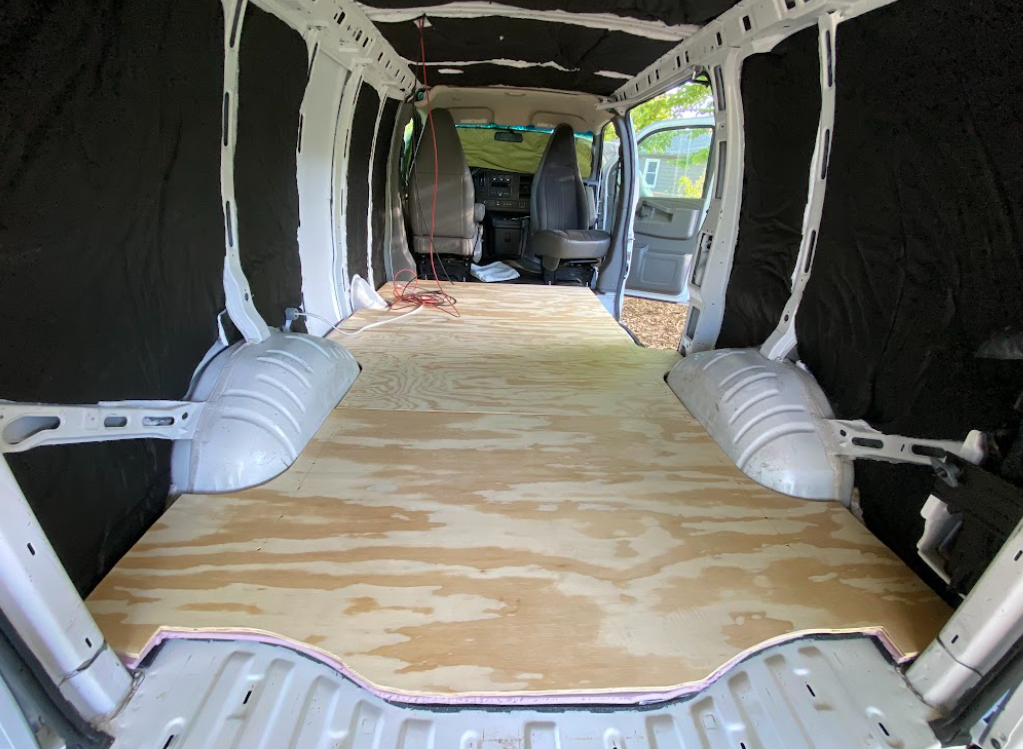
(We also put insulation into the ceiling to kick the weekend off. Very busy!)
read full post
After a bit of a break from van things during which we worked on Planet Comicon things, we're back on it! This weekend: prepping for and beginning insulation.
I started out by removing the wood rails along the sides of the cargo area. Don't need those when you've got (plans for) actual walls! I also wiped the walls down with alcohol (not the drinking kind) to remove stuff on the wall that might interfere with sticking things to it. Got a lot of grime off!
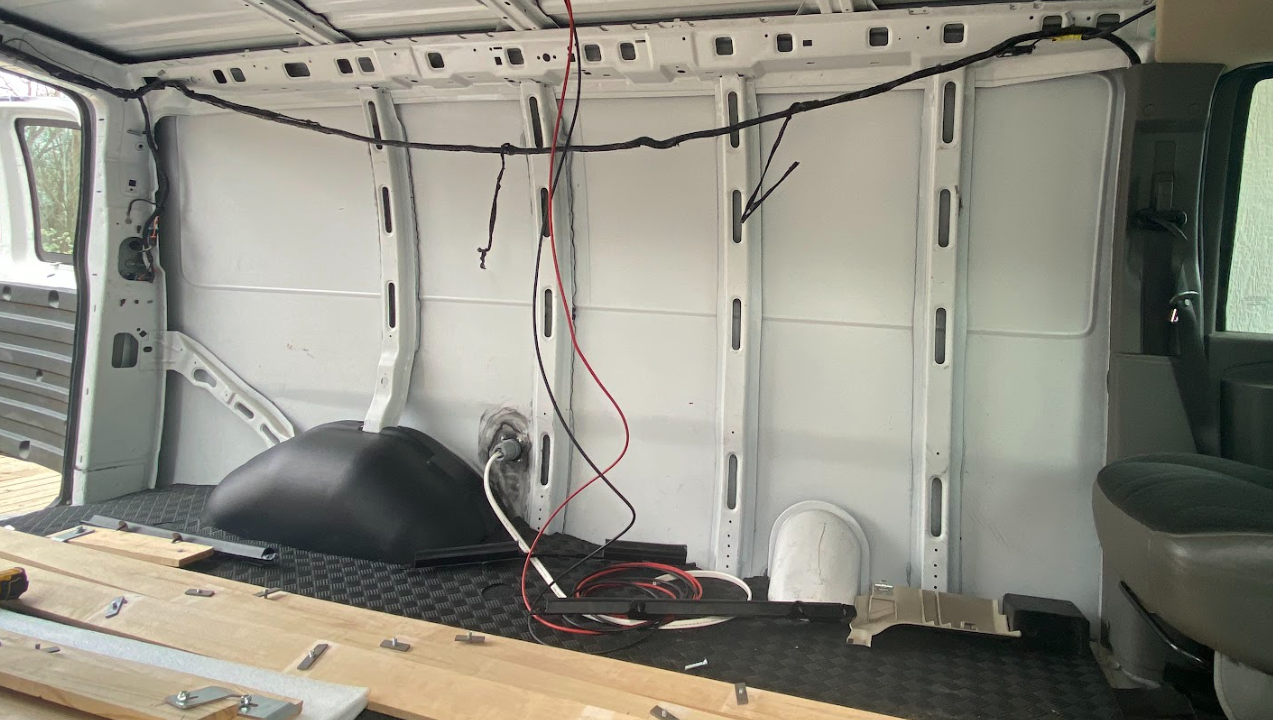
I also decided that I wanted to try to take the wiring that was clipped to the top of the wall and re-route it inside the channel behind where it was clipped. So I started loosening that, which you can see above.
read full post