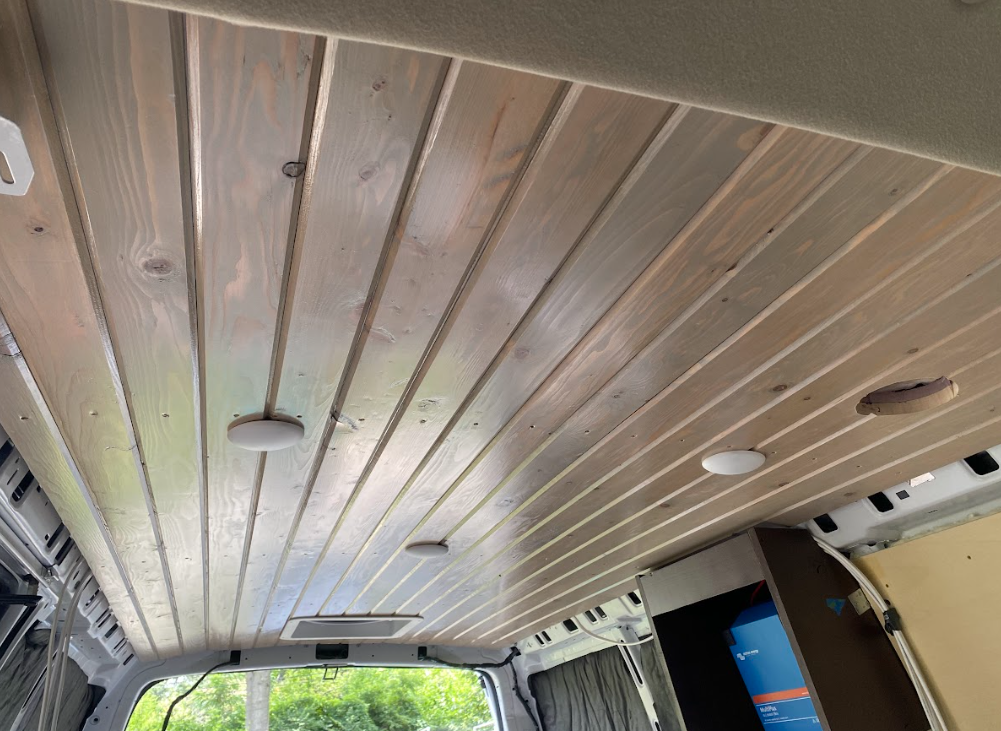
Ceiling: Covered!
Last weekend we finished installing the ceiling boards! Very exciting, and also very pretty:
A couple more views just for good measure? Sure, why not!
Last weekend we finished installing the ceiling boards! Very exciting, and also very pretty:
A couple more views just for good measure? Sure, why not!
This weekend picked up where we left off with even more ceiling excitement!
Last weekend saw the ceiling's tongue and groove boards getting a coat of stain. Here's a shot of some boards before staining (left) next to some after their trip to the Board Salon (right).
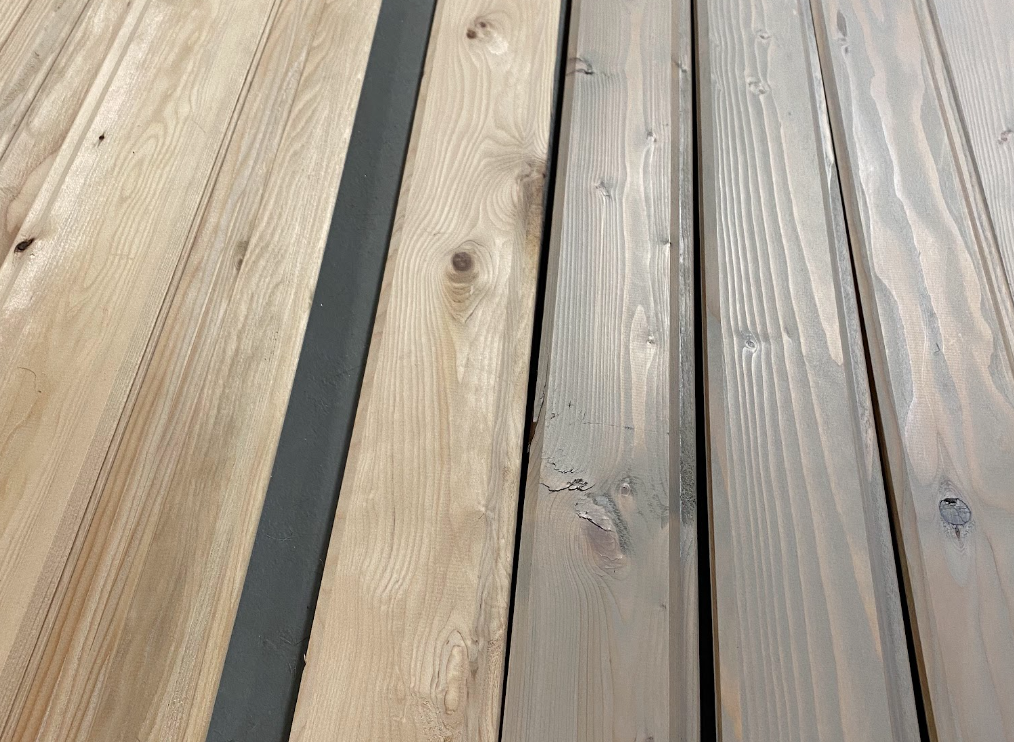
We chose this color because we wanted something that was interesting to look at but wouldn't make the ceiling feel dark, heavy or oppressive. The boards have a lot of character in the form of knots, interesting grain situations and modest splitting (translation: they're cheap) so we're just leaning into that with a rustic look. Cabin vibes.
I followed the stain up with applying two coats of urethane, since I had the day off Friday for the holiday. It really did take basically all day--each coat was about 2.5 hours of patient brushing. Why do the staining and finish coat before installation? I've painted enough ceilings to know that I don't want to do that if I can avoid it. Much easier to do it with gravity pointing in the most helpful direction.
This past week we used up some vacation time to spend a few days working on the van instead of working for the man, man. Well, it's hot out, so we spent a few mornings working until we got hot and gave up for the day. We made some excellent progress!
Backing up a bit: Project-wise, the electrical system has two main sections—all the stuff before and including the distribution panel, and all the stuff after it. The distribution panel is like the breaker box in a house. This has both AC and DC service, so it'll have some house-type circuit breakers but also the sort of fuses you'd find in a car fuse box. From the distribution panel, all the circuits powering all the things can be run, but we have to get the power there first. Which means we need to actually install the distribution panel in the van.
I'm finding that there's a lot of chicken-and-egg situations in building this van... something that really should be in place before moving on to something else, but then also the same something else needs to be started before we can accomplish the first something. A bit like trying to figure out where to start this explanation, I suppose.
So, the distribution box will be in a cabinet that also contains the batteries. But to start building that cabinet, we needed to start building the wall that part of the cabinet will attach to. Even though, in general, it makes sense to finish the first section of electrical before moving on to the walls. So our first step in getting the distribution box installed was figuring out how to create the wall behind the driver's seat.
We had placed small blocks of wood behind the brackets attaching the main electrical cabinet to the van wall. The first step was replacing these with longer strips of wood that spanned the width of the wall.
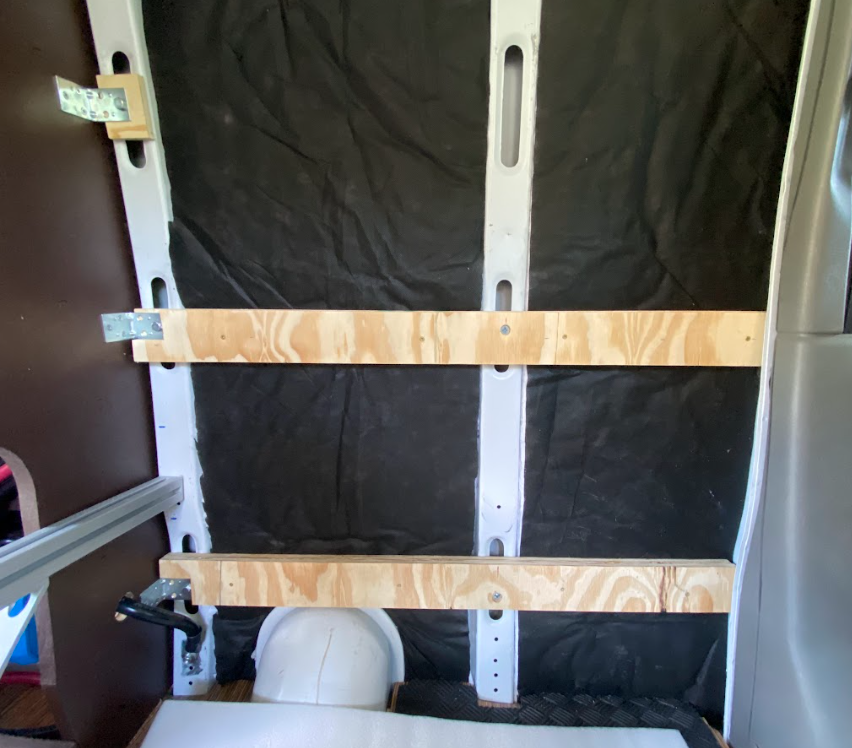
We attached these to the wall ribs with the same hardware that attached the wood planks that the van came with.
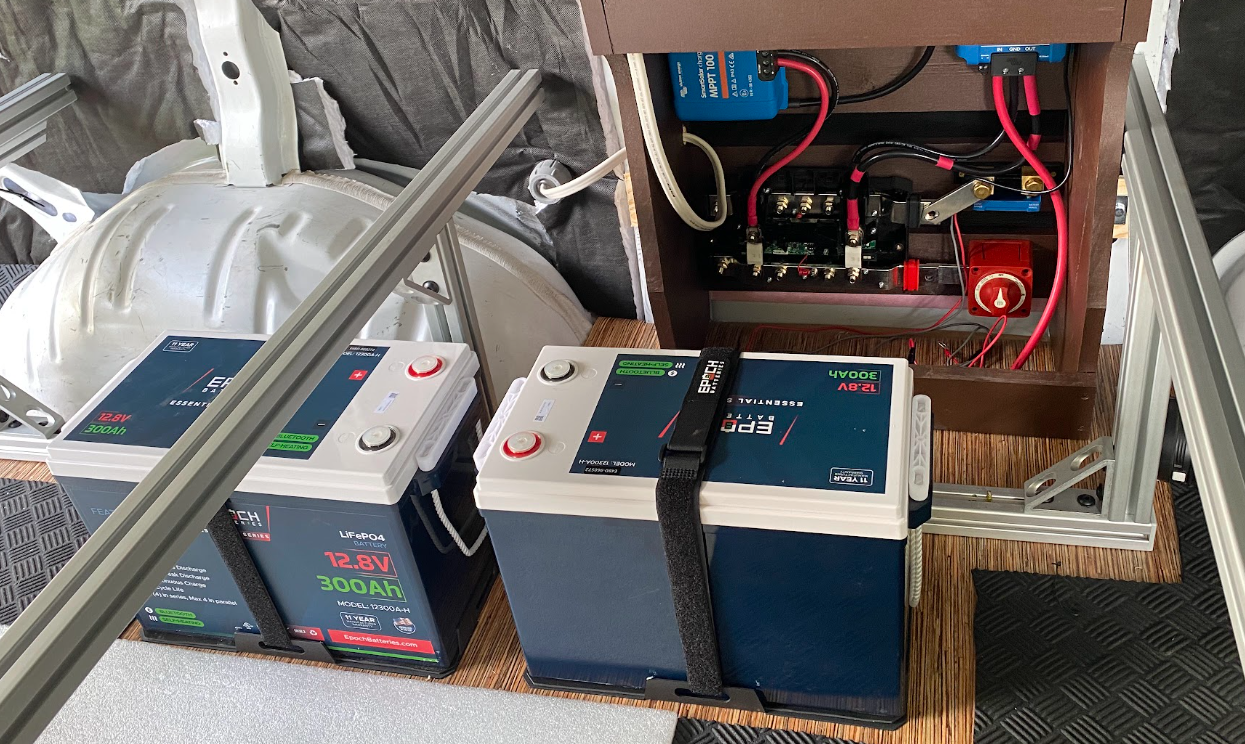
We've been steadily working through the wiring of all things electrical. It's not super exciting to look at, but here's where we are.
We placed the batteries, which involved screwing some base plates to the floor, which hold the batteries down with the help of velcro straps.
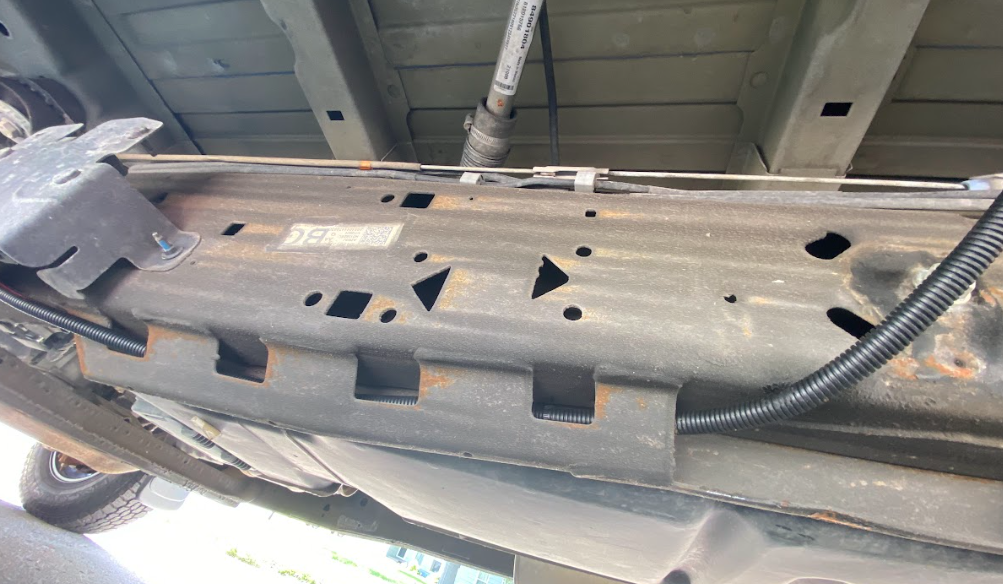
This past weekend was a little rainy, and some electrical bits that I was hoping would arrive by the weekend ended up delayed, so Agent May underwent just a couple of small projects. The first was running a wire from the engine compartment, where it will be connected to the van's main battery, back to our electrical cabinet.
This involved adventures in wiggling around under the van to secure the wire along the chassis:
And then up through a hole in the floor of the van.